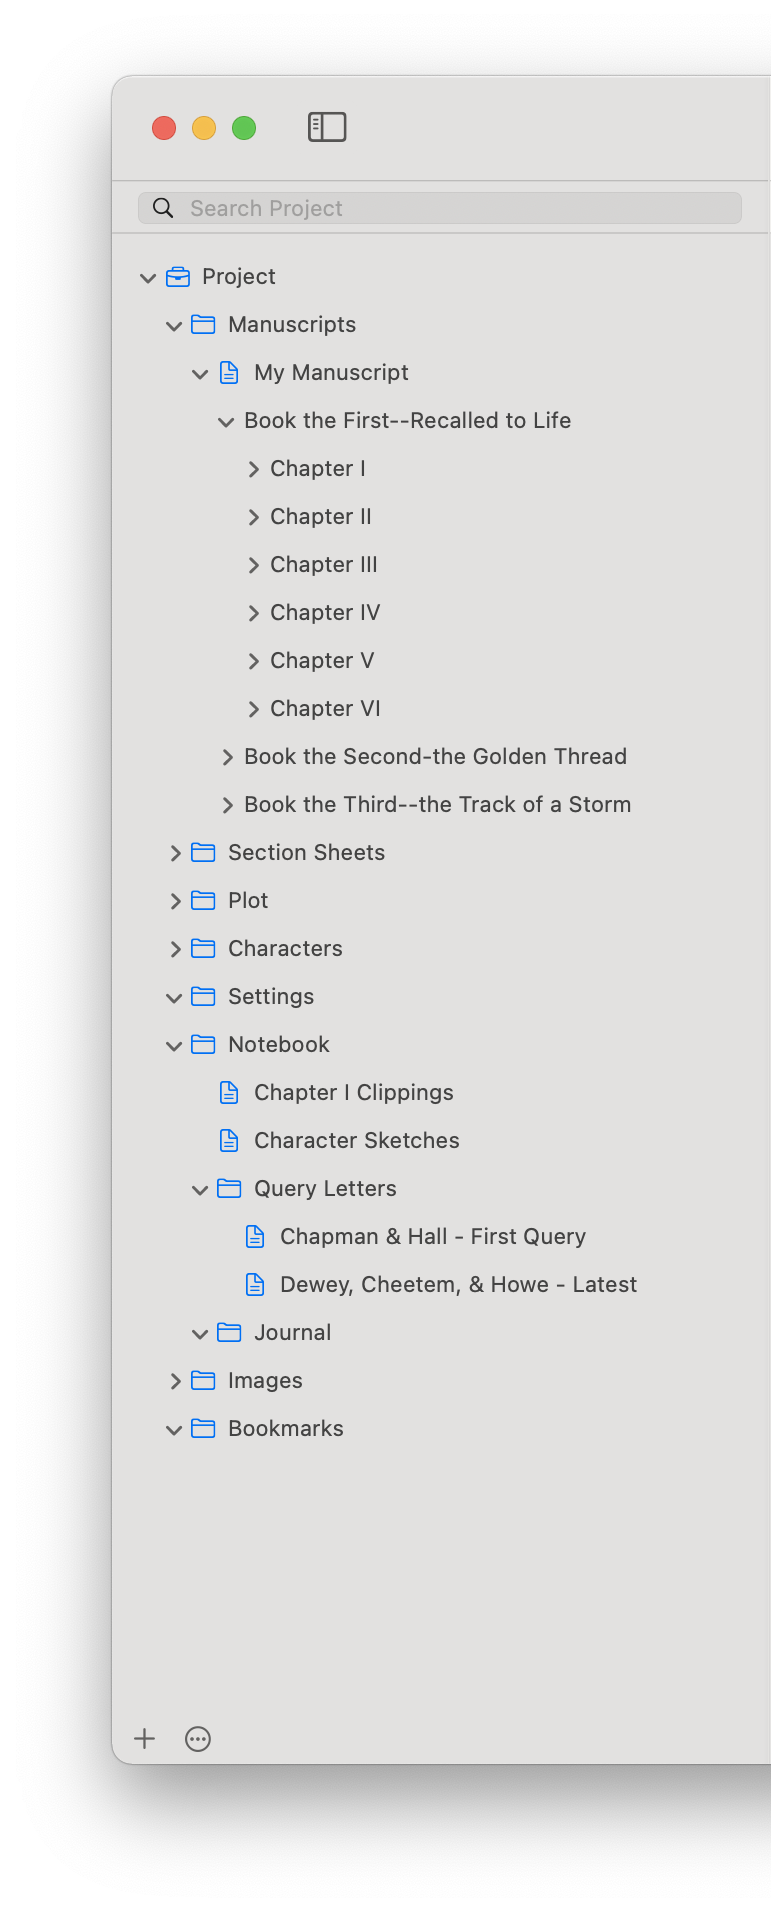
Working with the Project View
A Storyist project contains your manuscripts and scripts and your story sheets for plot, character, and setting.
It can also hold many types of ancillary information. For example, you might use it to store bits of dialog, clippings, research, or query letters.
The Project View, located at the left of the main window, helps you quickly organize and access these project items.
Adding Items to the Project
There are several ways to add items to your project:
- Using the File > New menu.
- Using the Add (+) menu at the bottom of the Project view.
Note: If an item is selected in the Project view when you add a new item, Storyist will add the new item after the selected item if possible. If nothing is selected in the Project view, Storyist will add new items to the default location for the item type.
Tip: If you select an item in the project view and then click the Add button while holding the Option key, a new item of the same type is created.
Adding Outline Elements to Project Items
You can also use the Project view to add outline elements (for example, chapters, sections, and scenes) to manuscript or script project items.
To add an outline element to a text file:
- Select a text outline item (manuscript or script) in the Project view.
- Click the Add button in the Project view.
- Select the outline element you want to add from the menu.
Note: Storyist determines whether or not to display a text item’s outline in the Project view by examining the text file’s outline template. You can edit the outline template by selecting the File Info pane in the inspector and clicking Edit Outline Template.
Note: By default, the Project view displays outlines for text files that have outlining enabled. If you don’t want to see the text file outline in the Project view, click the Action (gear) button in the Project view and choose “Hide Text File Outlines.”
You can enable or disable outlining for a text file, using the “Enable outlining for this file” checkbox in the File Info pane in the inspector.
Also, the list of outline elements displayed in the menu is generated from the outline template.
Deleting Project Items
To delete items from the project:
- Select the items you want to delete in the Project View.
- Click the Action (gear) button in the control bar at the bottom of the Project View.
- Choose Delete from the pop-up menu.
The items you selected are moved to the project Trash.
To view the contents of the project trash, click the File button in the toolbar and choose Show Project Trash.
To Empty the Project Trash, click the Empty button at the top of the trash list. Be careful with this. You can’t undo this operation.
Editing Project Item Preferences
Storyist provides default settings for project items, but you can edit the settings to specify things like editor behavior and preferred contents of a particular folder.
To edit the preferences for a project item, open the inspector and select the File Info pane.
The file name and icon appear at the top. Additional preferences are displayed according to the type of item selected. These preferences are detailed below.
Text File Preferences
Kind—A pop-up menu specifying the editor features enabled for the file. Available values are:
- Screenplay—Used for screenplays and stage plays. When selected, this mode enables context-sensitive completion of screenplay elements like scene intros, locations, times, characters, extensions, and transitions. If you choose Screenplay mode, you can edit the available completions by clicking the Edit Completions button.
- Text File—Used for novels, short stories, and other prose. Context-sensitive completion of screenplay elements is disabled, but the standard completions (invoked using the ESC key) are still available.
Enable outlining for this file—Selecting this checkbox causes the file’s outline elements (that is, the chapters and sections or scenes that make up the file) to appear in the Project and Outline views. This checkbox is selected by default for manuscripts and scripts but is disabled for notebook entries.
Include body text elements—Selecting this checkbox causes the file’s body text sections to appear in the outline. This checkbox is unselected by default for manuscripts and scripts but is disabled for others.
Edit Outline Template—Clicking this button brings up a dialog that lets you edit the outline template (level labels and styles) for the file.
Create sheets automatically—Clicking this causes Storyist to create a section or scene sheet when new sections or scenes are created.
Shortcuts—You can specify whether or not Storyist enables Tab and Return shortcut processing in the file. If you choose “Use the application preferences,” Storyist will use the settings you specify in the application preferences (accessed from the Storyist > Preferences window).
Folder Preferences
Contents—Specifies the preferred contents for the folder. Storyist uses this value to provide keyboard shortcuts (Command-Return and Command-Slash) for the Project view and Outline view, and to decide where to put new files if nothing is selected in the Project view.
Note: Preferences for some kinds of project items are not available. Choosing Edit simply displays a dialog showing the item title and kind for these items.
Searching the Project
One of the benefits of having all your project-related writing in one place is that the contents are instantly searchable.
To search for text in your project:
- Click in the Search field at the top of the Project view.
- Type the text you are looking for.
Your search results appear in the Project view. To navigate to the file or story element that contains the search text, simply click a search result.