The User Interface at a Glance
The Storyist main window consist of four parts:
- The Project view—Displays the files and folders associated with your project.
- The Main view—Provides an area for editing project files. The Main view can be configured to display files as text, outlines, or storyboards. It can also be split so you can see multiple project items simultaneously.
- The Inspector—Provides setup and formatting controls for selected files.
- The Toolbar—Provides buttons for displaying the Project and Inspector sidebars and viewing writing goals. It also provides a context-sensitive status bar.
Project View
A Storyist project can contain text files, story sheets, folders, and images. The Project View—located to the left of the main window—helps you quickly organize and access these items.
To hide the Project View, choose View > Hide Project View. To display it again, choose View > Show Project View. For more information, please see the chapter titled "Working with the Project View."
Main View
The Main view, located to the right of the Project view, has two components:
- The navigation bar—The button strip at the top of the view.
- The editing area—The area in the middle of the view, which you can set up to be a text view, an outline view, or a storyboard view.
The Main view can be split both horizontally or vertically to see multiple project items at the same time. For more information, please see the section titled "Splitting Views."
Navigation Bar
Much like a web browser, the navigation bar lets you switch between recently viewed pages. It also controls whether the view's content is displayed using the Text view, the Outline view, or the Storyboard view.

The navigation bar contains the following buttons:
- Back button—Returns you to the previous item in your viewing history. Click and hold this button to see the previous items in your viewing history.
- Forward button—Takes you to the next item in your viewing history. Click and hold this button to see the next items in your viewing history.
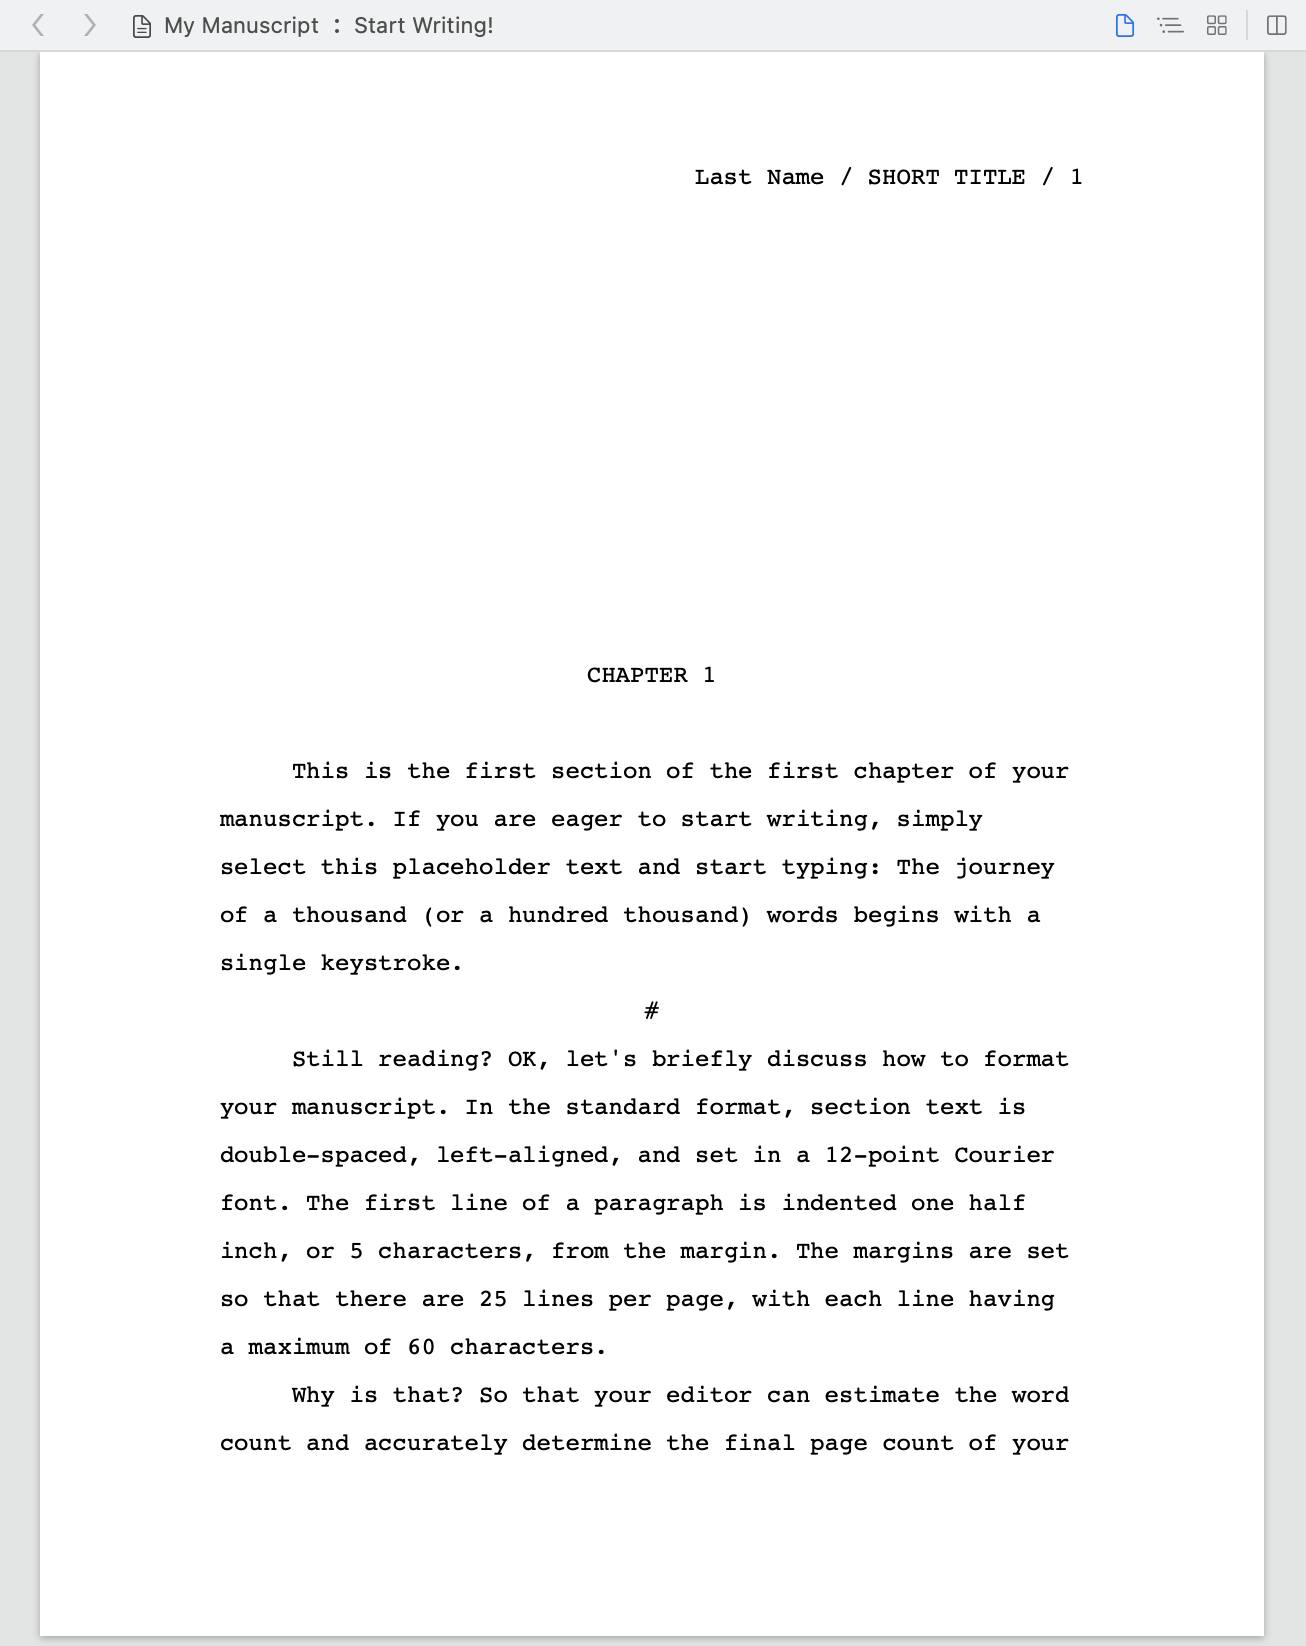
- File Pop-up Menu—Shows the list of files and folders in your project. When working in the editor, you can use the Control+1 shortcut to show this list.
- Outline Pop-up Menu—Shows the outline of your text file, allowing you to navigate to sections of your text. When working in the editor, you can use the Control+2 shortcut to show this list.
- View as Text button—Switches the editing area to the Text view.
- View as Outline button—Switches the editing area to the Outline view.
- View as Storyboard button—Switches the editing area to the Storyboard view.
- Split View Button—Splits the editor vertically. (Available on macOS Big Sur and later.) To split the editor horizontally, hold down the Option key before clicking this button.
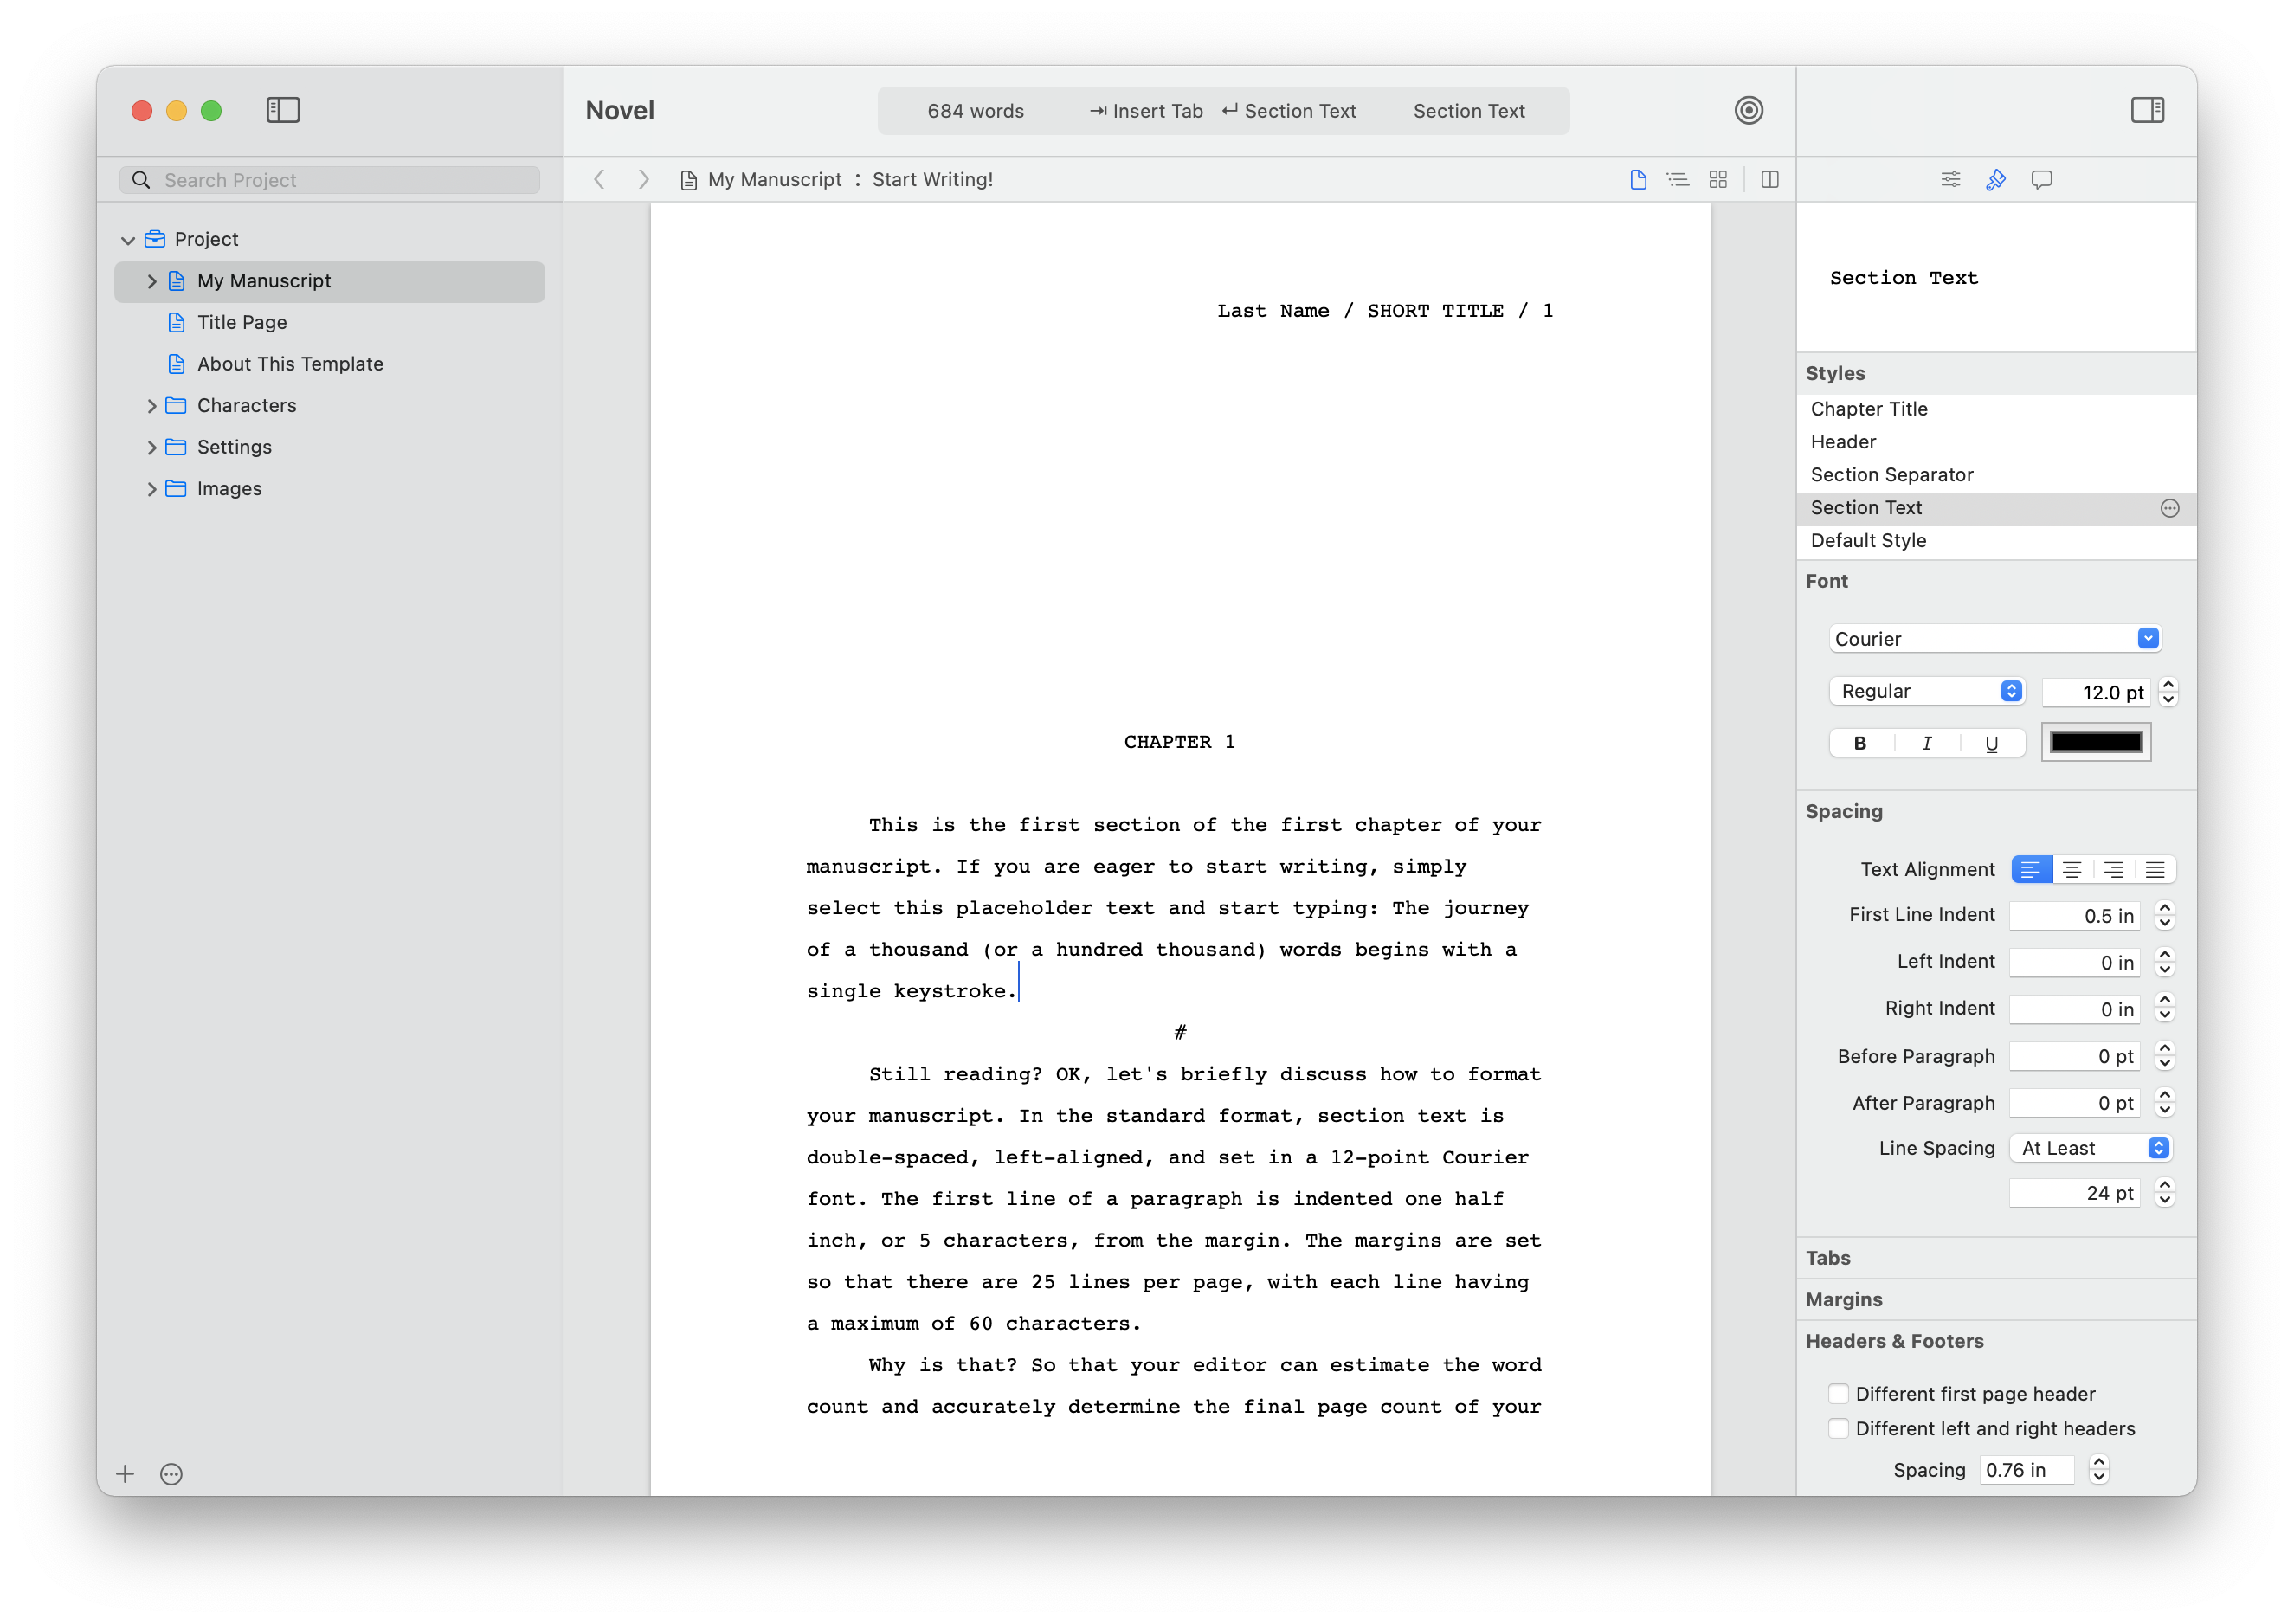
Text View
The Text view is where you'll do most of your writing. It displays your text files and story sheets in text form.
To view your files in the Text view, used the Project view to navigate to the file you want to view, and do one of the following:
- Choose View > as Text.
- Click the "View as Text" button (the first button on the right) in the Navigation bar.
For more information on the Text View, see the chapter titled "Working with Text."
Outline View
The outline view provides traditional outlining tools that let you quickly capture your ideas and work with them at a high level.
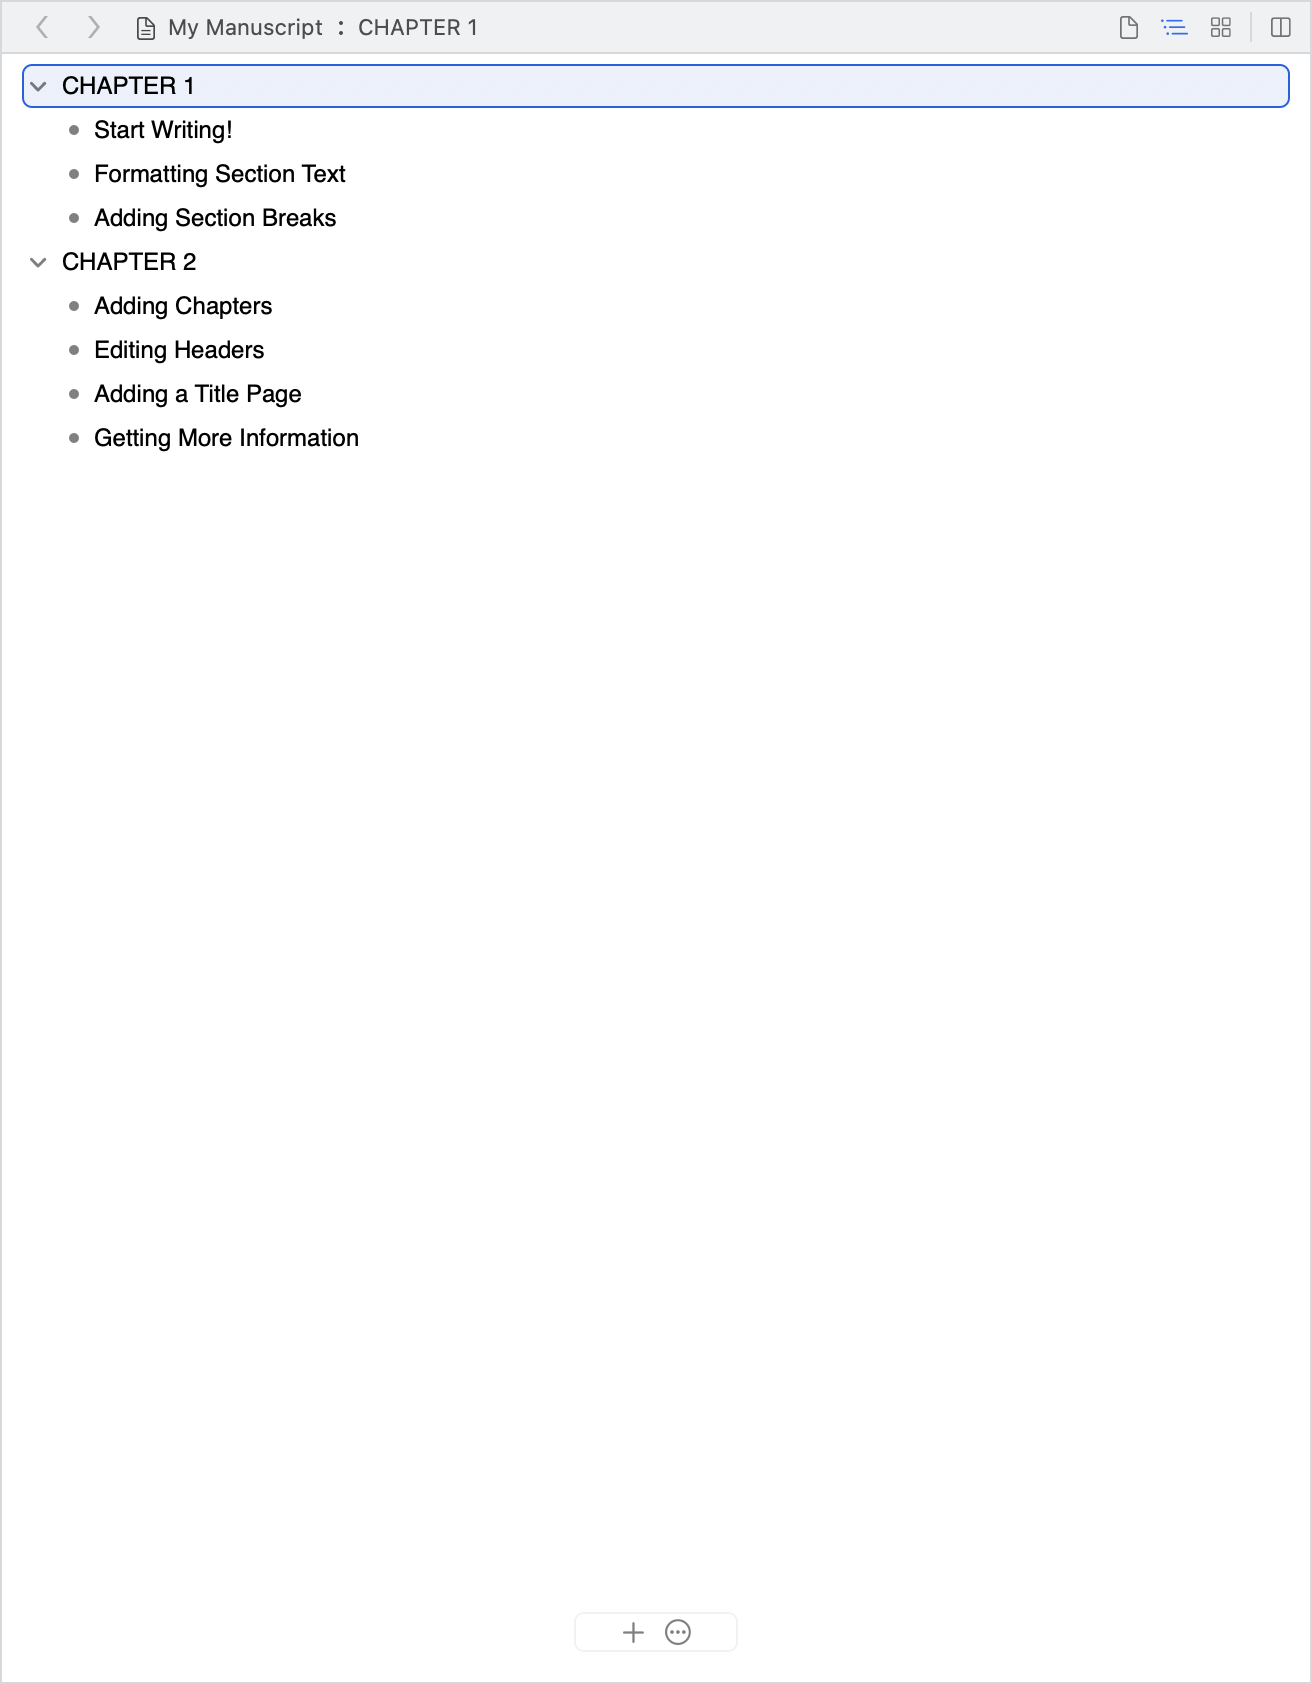
To view your files in the Outline view, use the Project view to navigate to the file you want to view, and do one of the following:
- Choose View > as Outline.
- Click the "View as Outline" button (the second button showing three staggered horizontal lines) in the Navigation bar.
For more information on the Outline view, see the chapter titled "Working with Outlines."
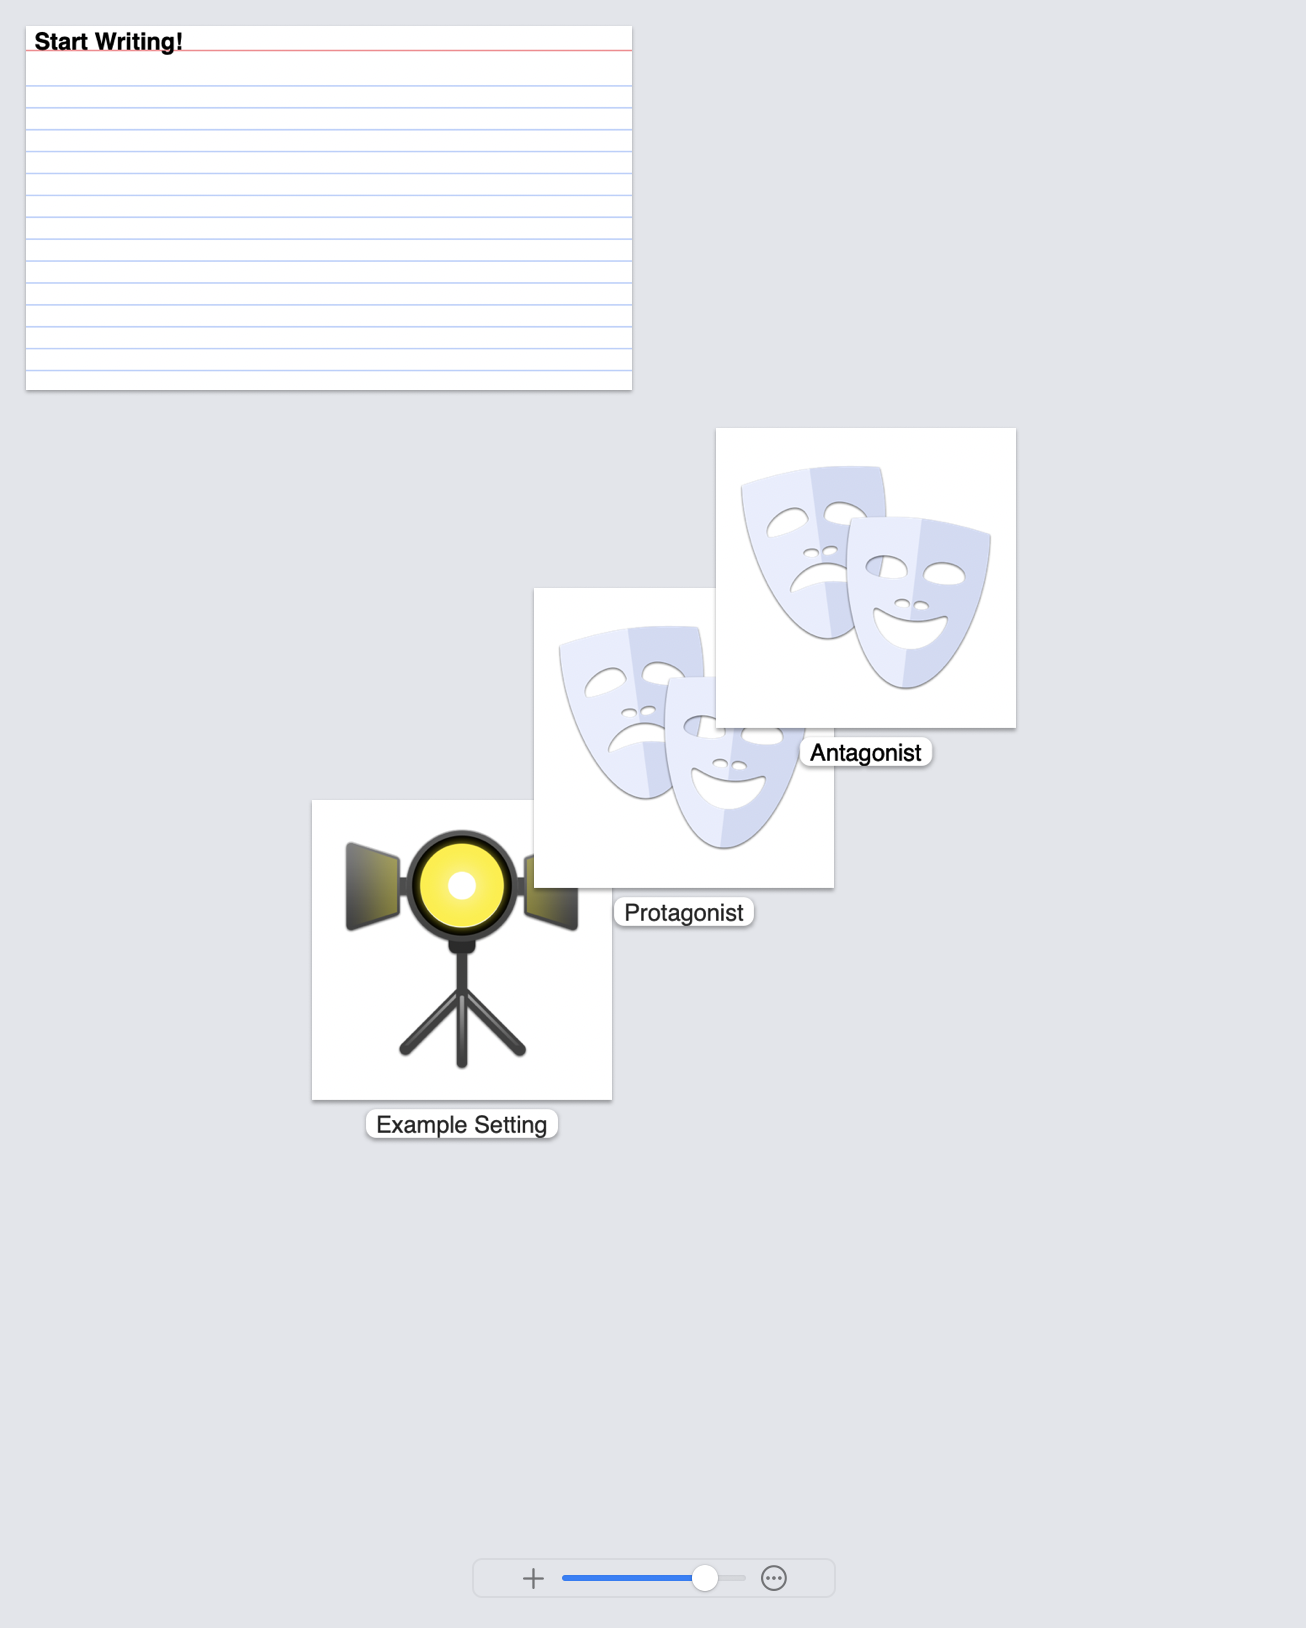
Storyboard View
The storyboard view gives you a high-level overview of your text files, folders, and story sheets (characters, plot points, and settings) by displaying them as index cards or photographs on a corkboard or collage.
To view your files in the Storyboard view, do one of the following:
- Choose View > as Storyboard.
- Click the "View as Storyboard" button in the Navigation bar (the rightmost button).
Headings and groups are shown as items on a corkboard.
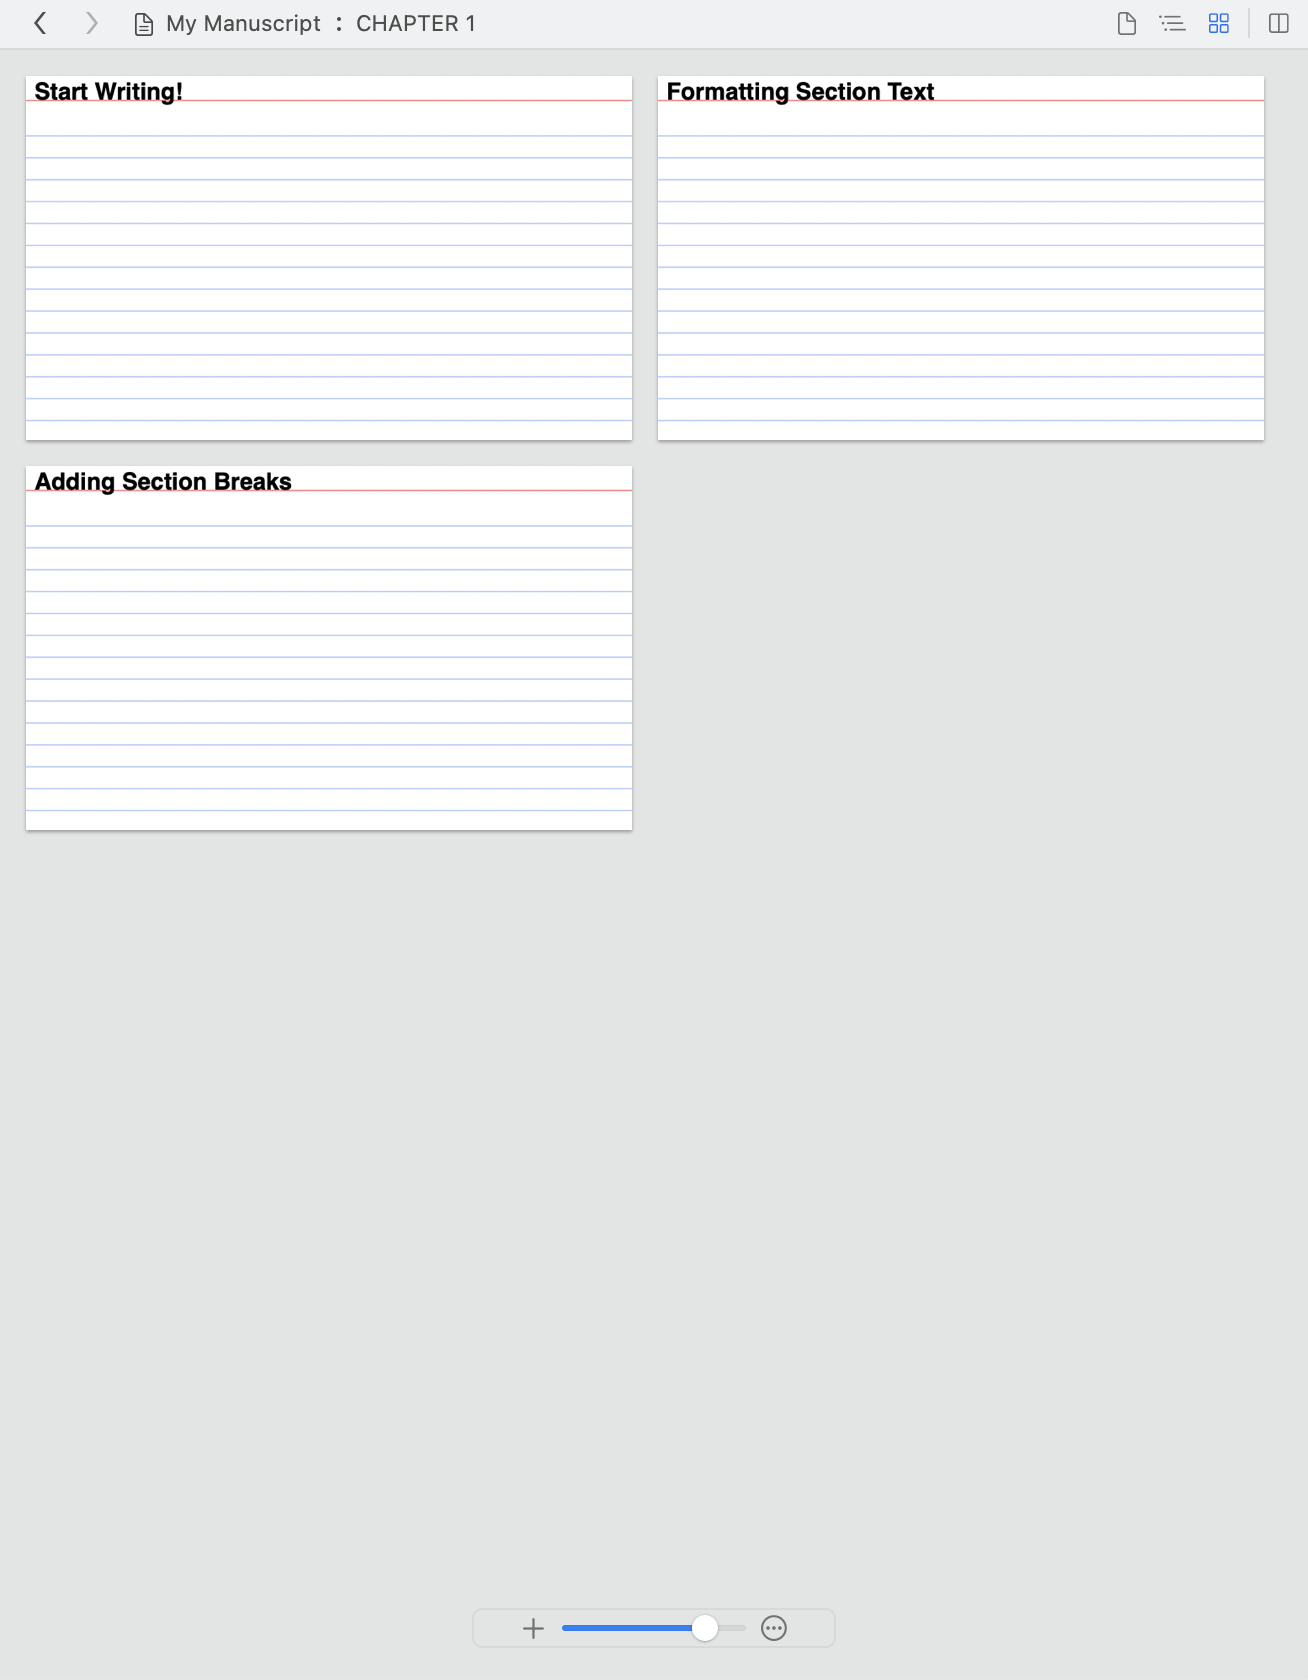
Body text and individual story sheets are shown in a collage.
For more information on the Storyboard view, see "Working with Storyboards."
Toolbar
The Storyist toolbar provides buttons for setting up the Storyist window and a status bar that shows information about the current selection. The default toolbar configuration is shown below.

Starting from the left, the toolbar contains:
- The View button—Shows or hides the Project view.
- The Window title—Shows the title of the current document. Hovering the pointer over the title reveals additional controls for renaming the document.
- The Status bar—Shows information about the current selection.
- The Goals button—Shows the writing goals view.
- The Inspector button—Shows or hides the inspector.
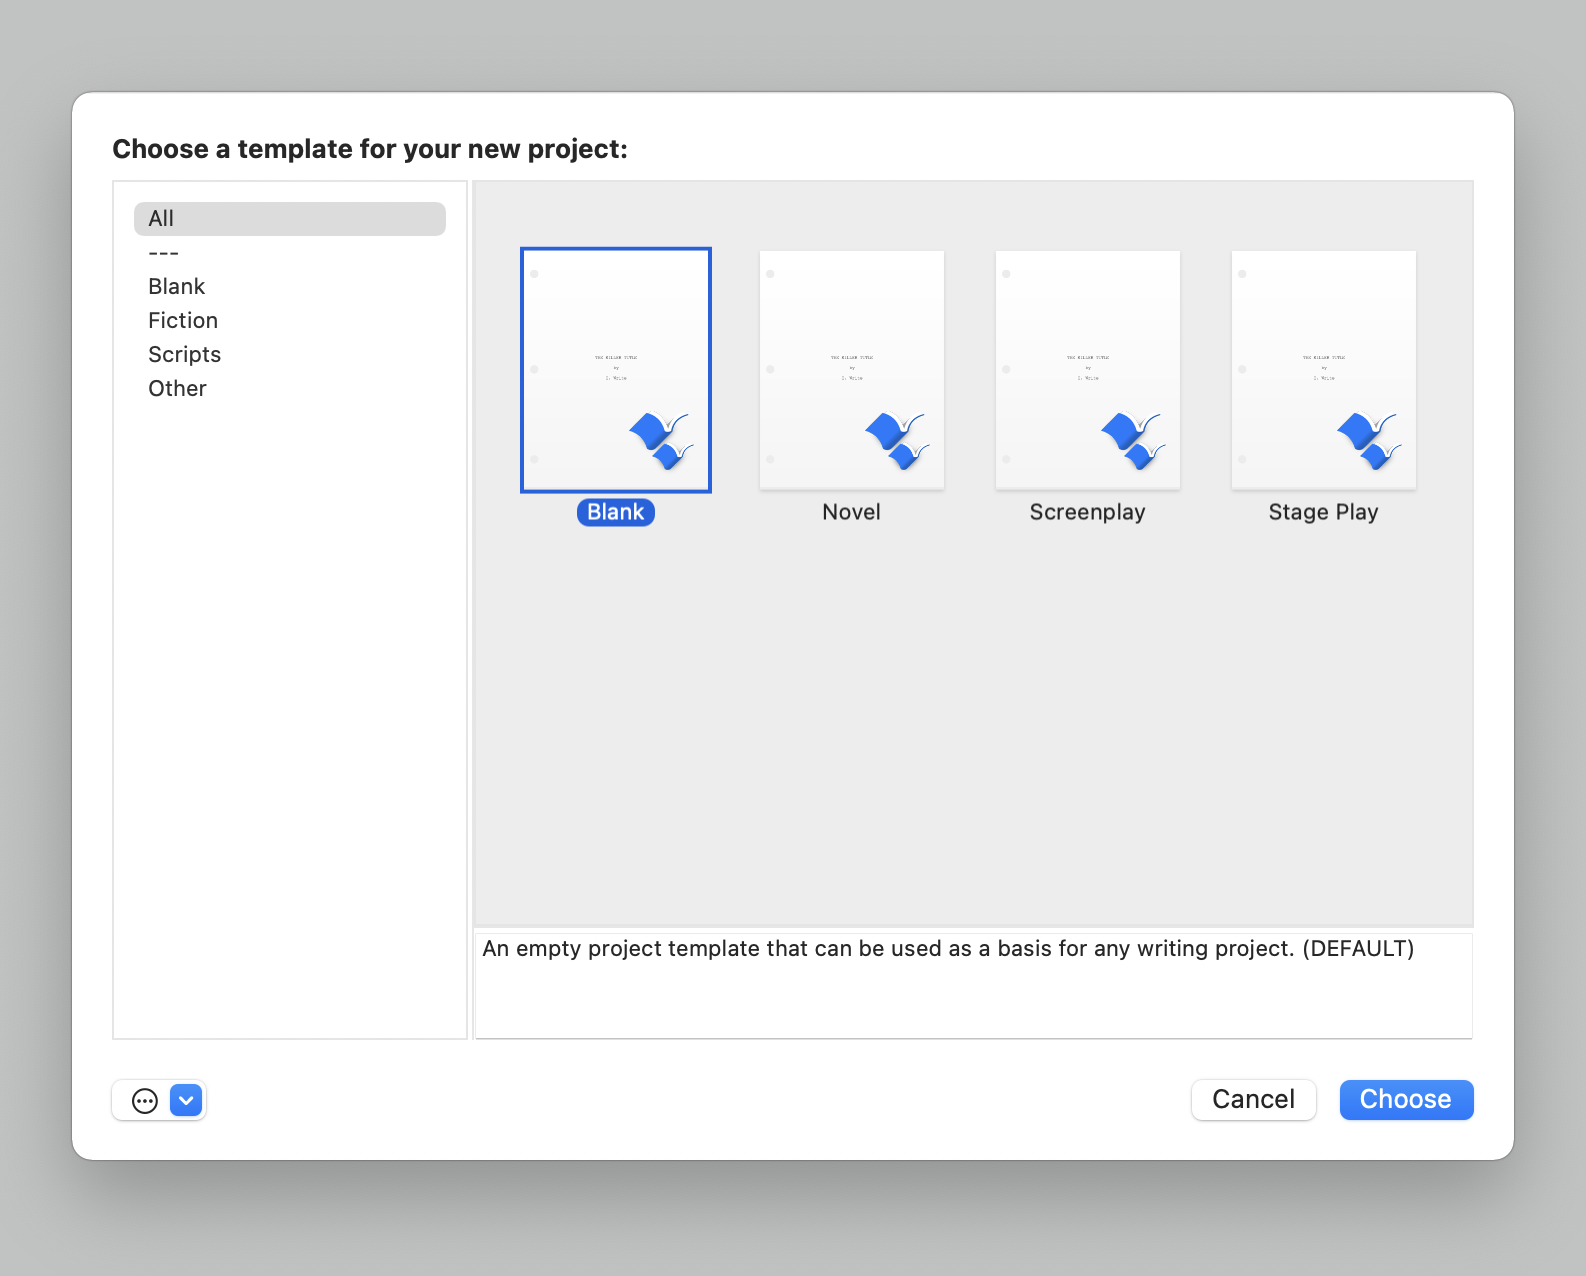
Template Chooser
When you create a new document, a dialog appears asking you to choose a template for your project.
Welcome Window
When you first open Storyist, the welcome window appears. You can use it as a starting point to create a new Storyist project, view the Getting Started Guide, visit the support website, or open a recent document.
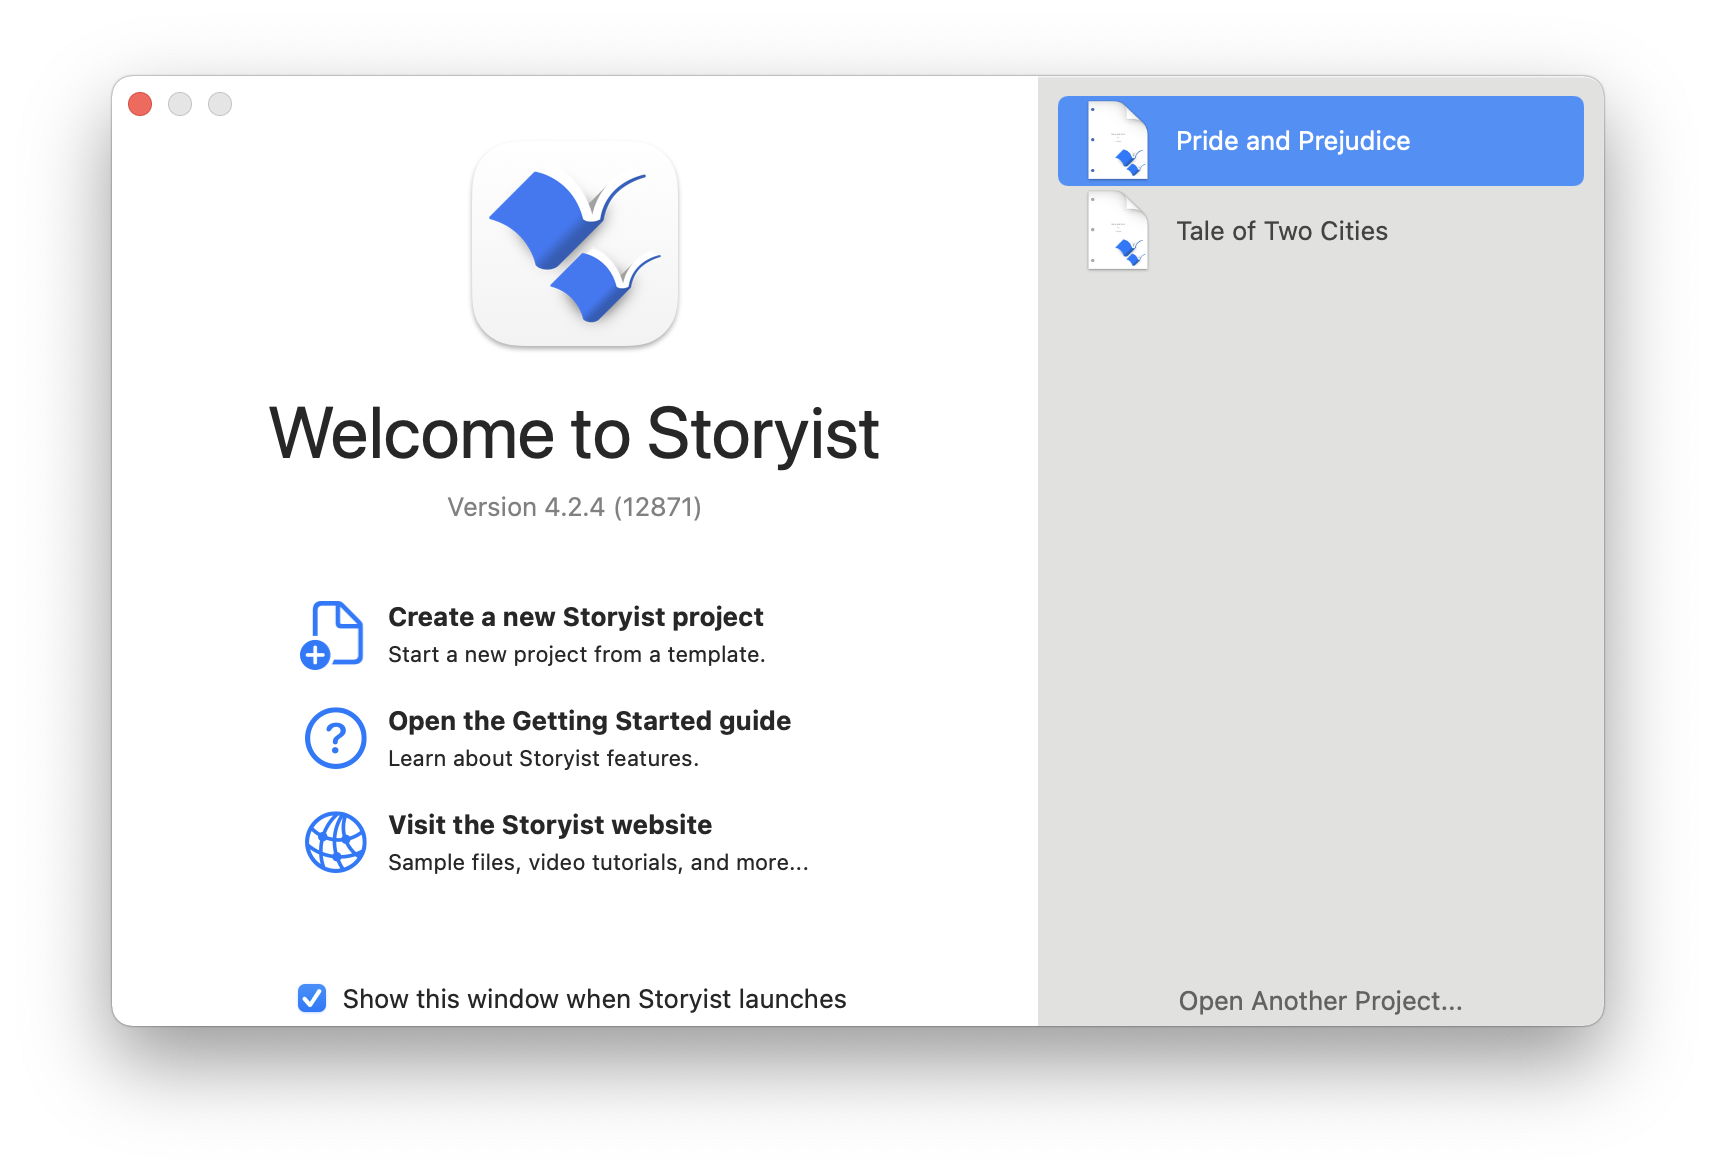
Select the "Show this window when Storyist launches" checkbox to see this window each time Storyist launches.
Note: If you have previously quit with an open document, Storyist will reopen the document instead of presenting this window. You can show this window at any time using the Window /> Welcome to Storyist command.
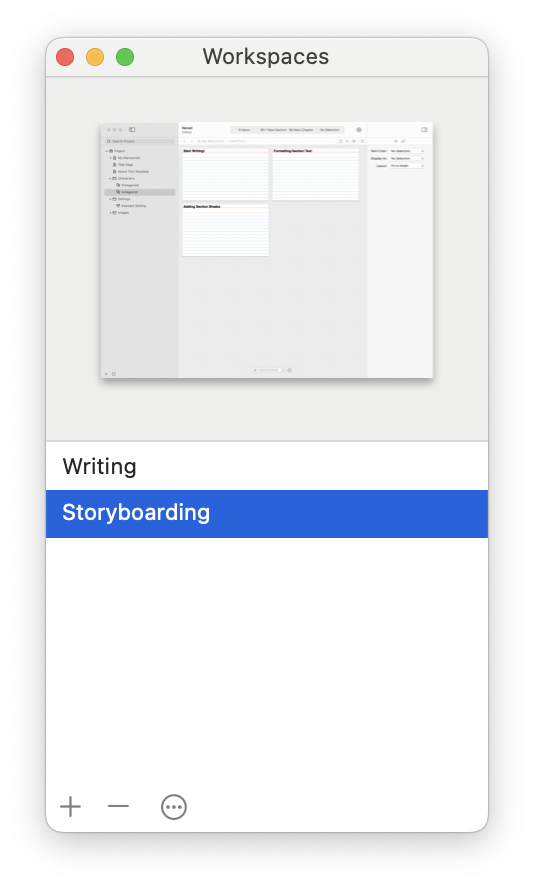
Workspaces Window
The Workspaces window lets you create and quickly switch between snapshots of your project views and windows. To view the Workspaces window, choose Window > Workspaces > Manage Workspaces.
For information about creating and using workspaces, see the chapter titled "Working with Workspaces."
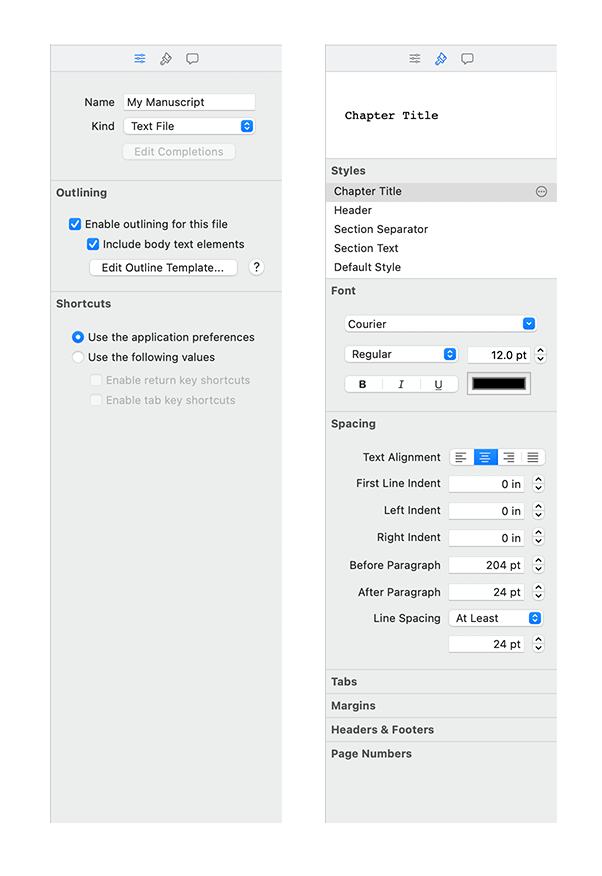
Inspector View
The Inspector view lets you view and edit settings and formatting information.
To open the Inspector view, do either one of the following:
- From the toolbar, click the Inspector button.
- From the main menu, choose View > Show Inspector.
Each type of project file has an inspector. The project and text inspectors are shown below.
Versions Window
The Versions window gives you a quick overview of the previous versions of your project and allows you to:
- Save a version (backup) of the project.
- Remove selected versions from the versions repository.
- Restore the project state from a previous version.
- Open a copy of a previous version for viewing.
To view the Versions Window, choose File > Show Previous Versions.
Note: The Versions window is not available until you've saved your project.
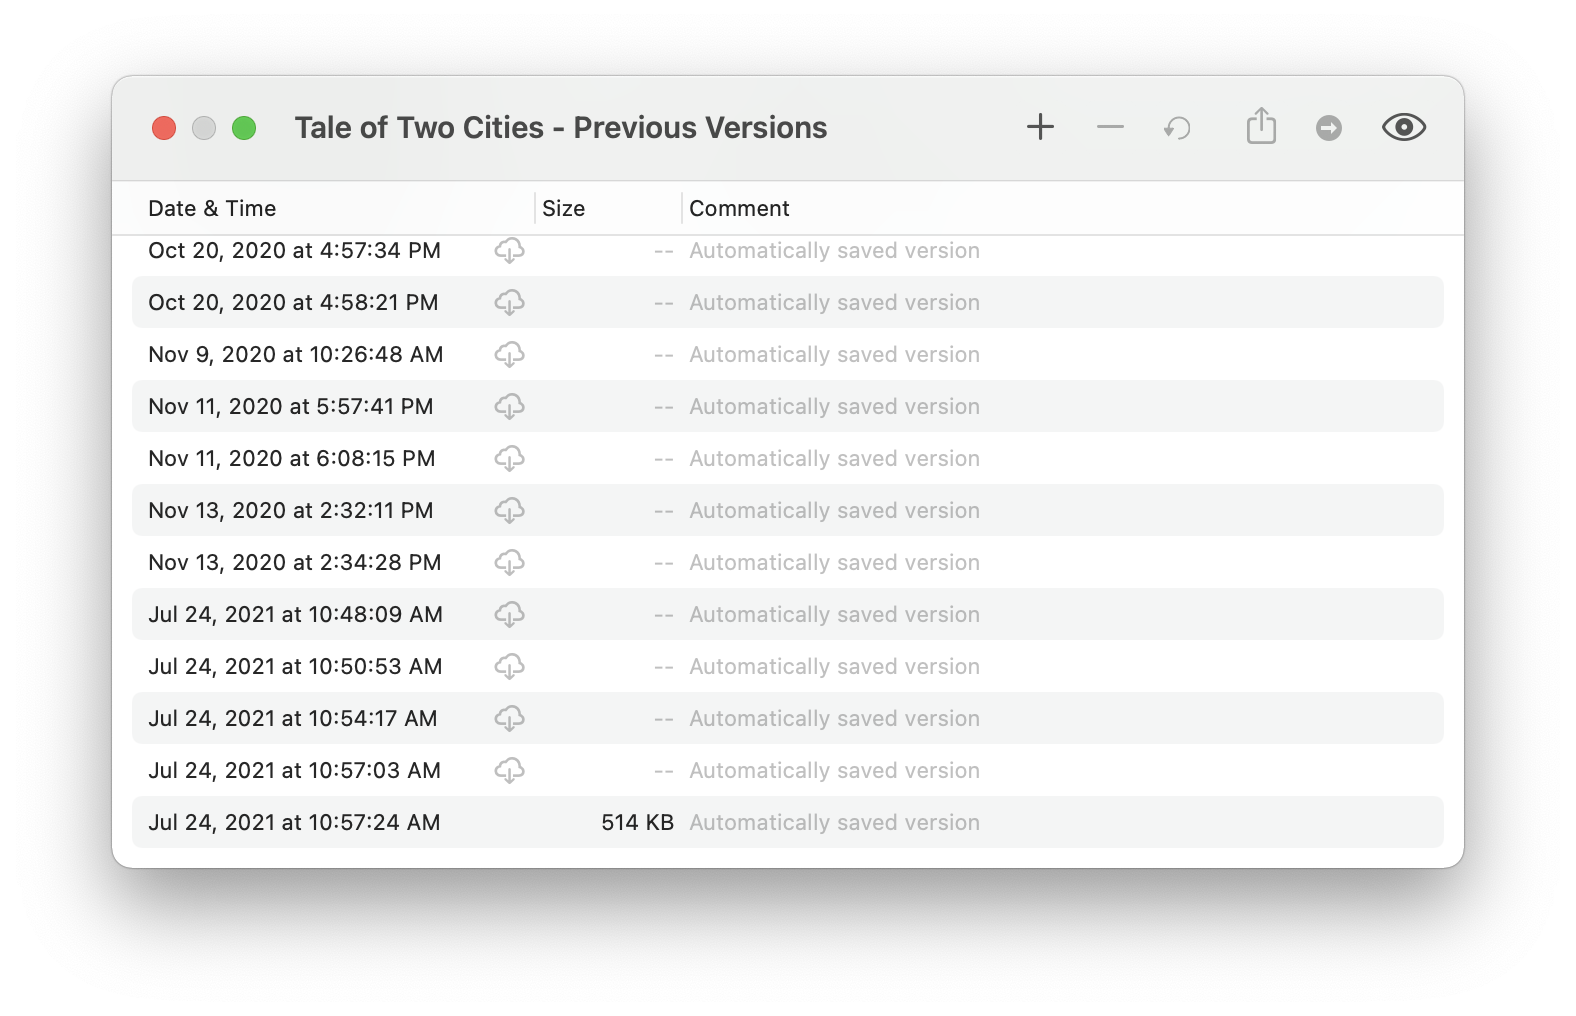
Versions are stored on your Mac, and if you've enabled Time Machine, on your backup drive. For more information on creating and using versions, see the chapter titled "Saving and Backing Up Your Work."
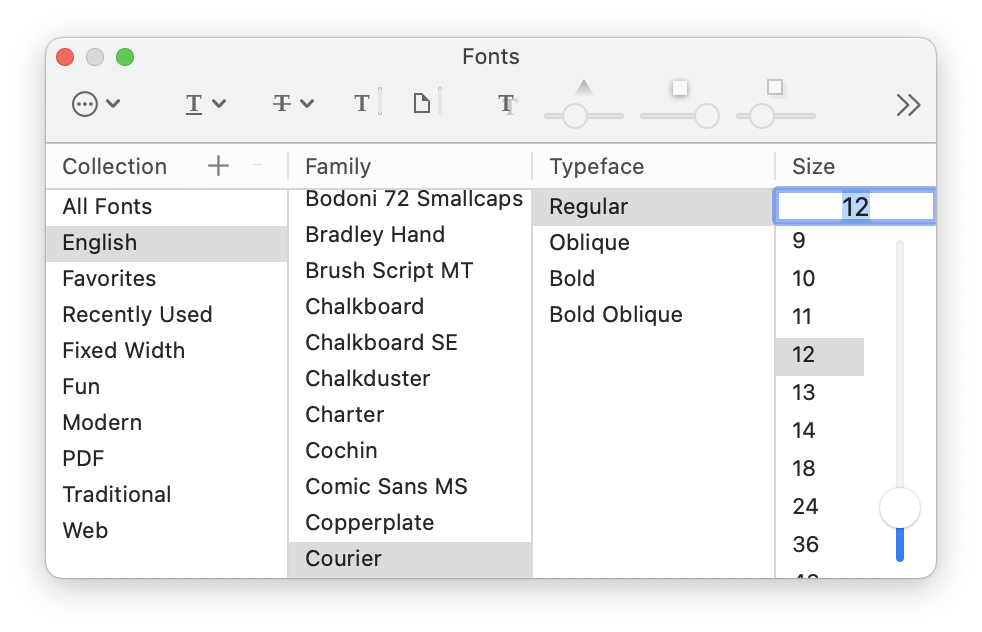
Fonts Window
You can use the Fonts window to change font attributes such as typeface, size, color, underlining, and strikethrough. To view the Fonts window, choose Format > Font > Show Fonts.
Colors Window
You can use the macOS Colors window to change text color. To view the Colors window, do one of the following:
- Choose Format > Font > Show Colors
- Open the inspector, select the Text Inspector pane, and click the color well in the Size and Color section.

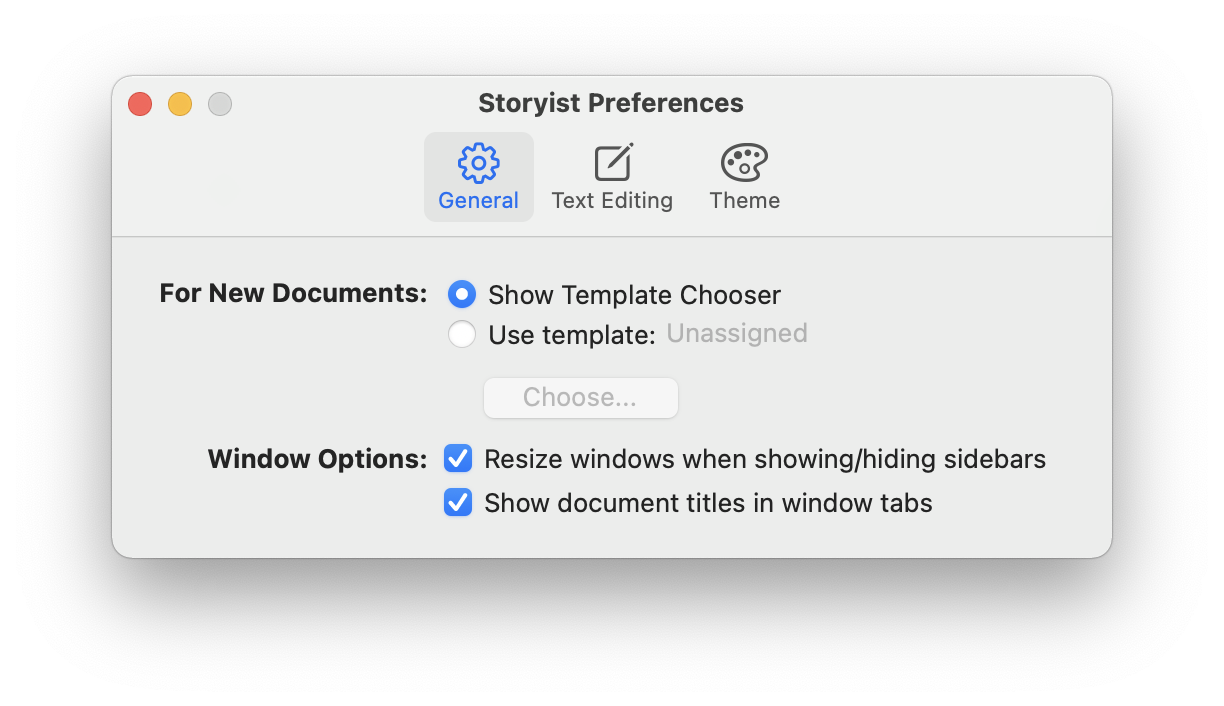
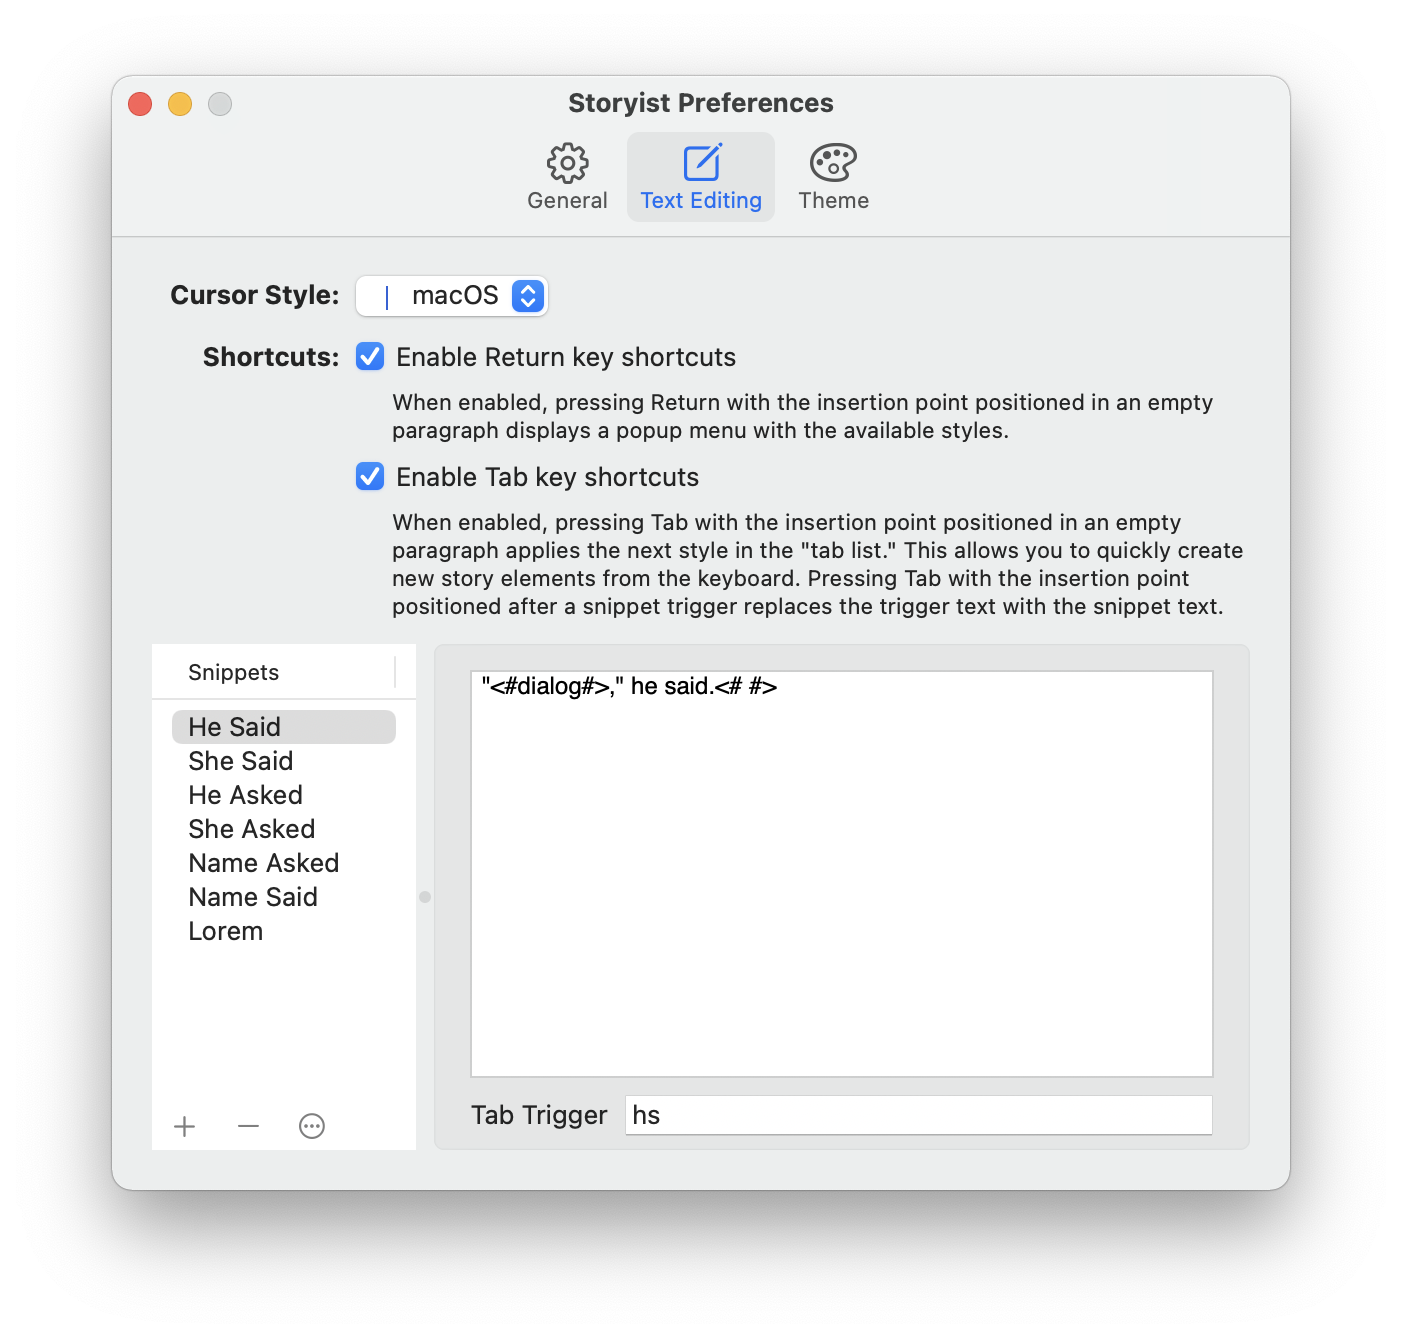
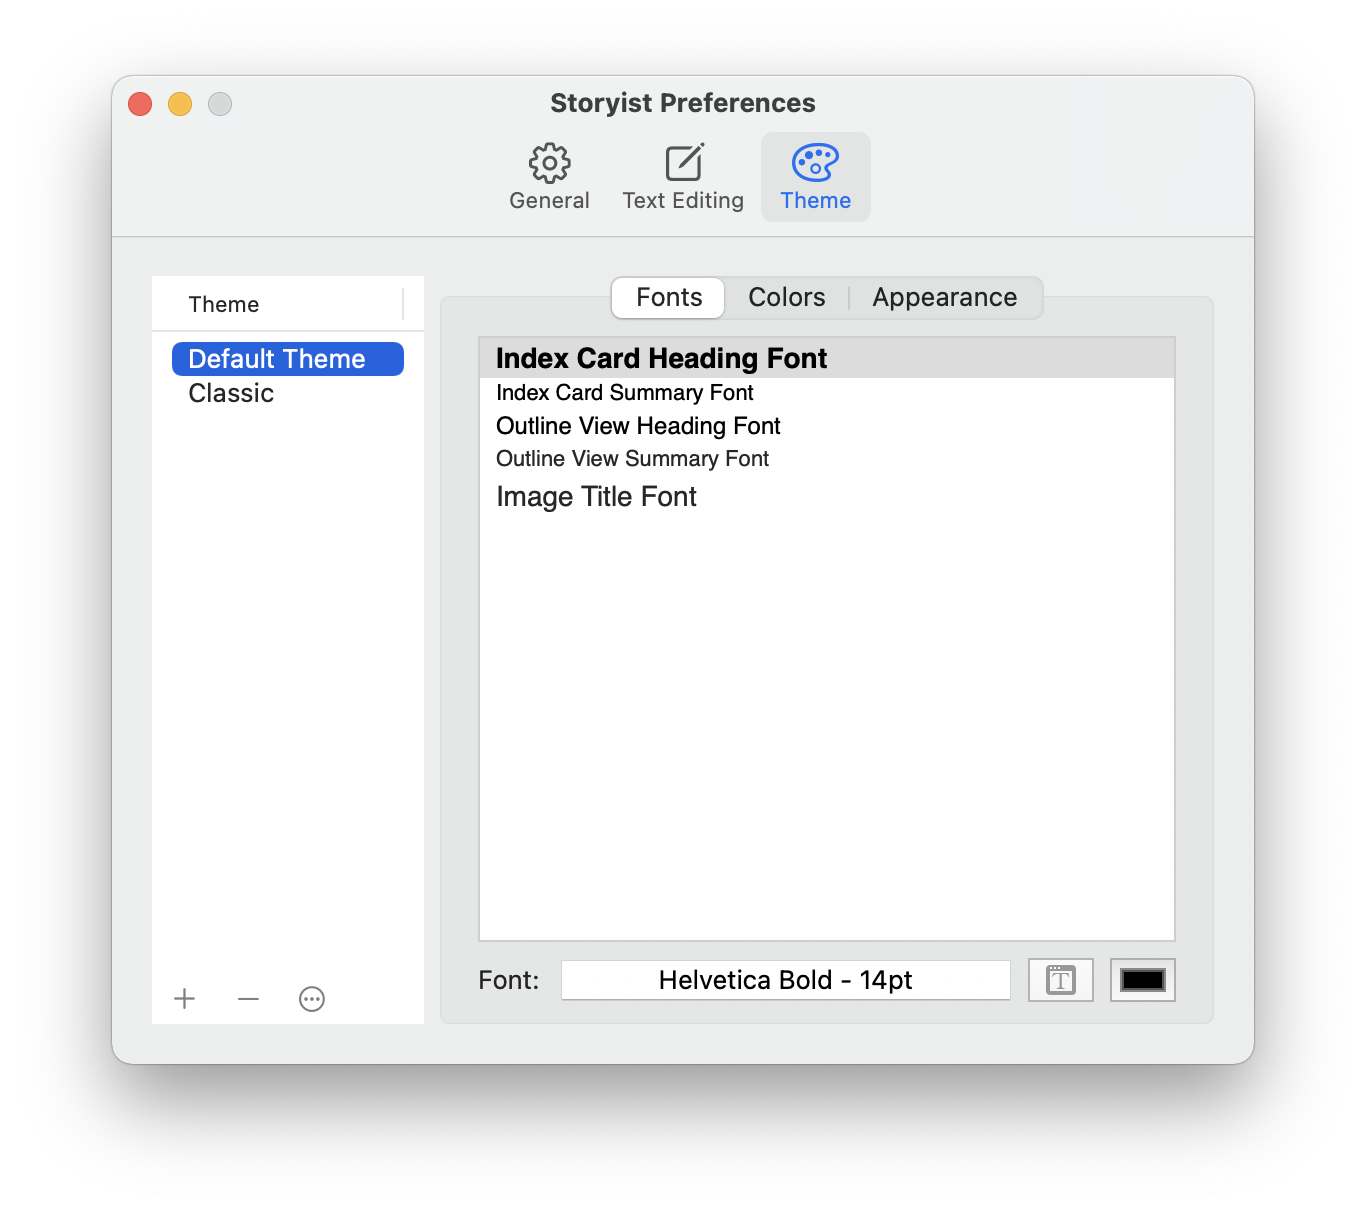
Preferences Window
The Preferences window lets you view and edit settings that apply to the Storyist application. The window is organized into three panes: General, Text Editing, and Theme. To view the Preferences window, choose Storyist > Preferences from the main menu.
General Pane
The General pane lets you specify which template to use for new documents.
Text Editing Pane
The Text Editing pane lets you specify:
- The behavior of the Tab and Return keys. Storyist can use these keys as shortcut keys to make changing styles as simple as typing a key or two.
- Small snippets of text you can insert in your text files using the Tab key.
Theme Pane
The Theme pane lets you customize the fonts, colors, and icons used in the application.
Keyboard Shortcuts and Shortcut Menus
Many of the Storyist menu commands described in this user's guide can be performed from the keyboard. To see a list of the available shortcuts, open Storyist and choose Help > Storyist Help, and click the Keyboard Shortcuts link.
Some menu commands are also available from shortcut menus. To bring up a shortcut menu, right-click or control-click an object or some selected text.