“The Cloud” is a purposely vague and non-technical term for a collection of computers connected to the internet. When you store a file “in the cloud,” you’re putting it on the storage media attached to one of more of these computers. Software services that let you store your files in the cloud include iCloud, Dropbox, Google Drive, OneDrive, and Box.
Storing your files in the cloud has several benefits:
When you edit a file that is stored in the cloud, the file is first copied from the cloud to the device you’re using. Let’s call this copy the local copy. At some point, you’ll want to update the version in the cloud with the changes you’ve made to the local copy, and to make sure that the local copies on other devices are updated as well. The process of doing this is called synchronization, or sync for short. When the local copies match the versions in the cloud, the files are said to be “in sync” or up-to-date.
There are three ways to keep your files in sync:
The easiest way to keep your files up-to-date on your devices is to have iCloud or Dropbox do it for you.
If you want to use iCloud:
If you want to use Dropbox:
After you’re setup, it works like this:
In this way, the changes you make on one device are synced with the cloud and from there to your other devices, so that all devices have the same version of your work.
Note that this process is not instantaneous. To keep network and battery use at a reasonable level, Storyist checks every minute or two to see if files are up-to-date. If you are on a slow or unreliable network (as might be the case if you’re using Storyist on your phone), changes can take a little while to transfer from your device to the cloud and then to your other devices.
When you switch from one device to another, it’s a good idea to make sure your files are up-to-date.
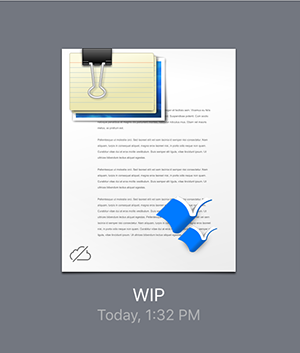
You can tell if a file was transferred from your iOS device to the cloud by looking at the file icon in the Storyist for iOS home screen. If the file icon has a badge showing a cloud with a line through it, your changes have not yet begun transferring from your device to the cloud.
You can also compare the timestamp of the file on your device with the timestamp of the file in your iCloud or Dropbox account.
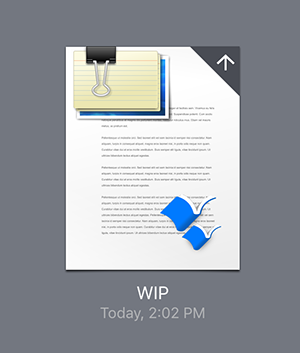
When Storyist for iOS is in the process of transferring your file to the cloud, an uploading badge appears.
Depending on the size of your file and the speed of your network, it may take several seconds or more to upload your file to the cloud.
If you suspect there is an issue with your network, you can tap the More (...) button on the Storyist for iOS home screen to see the network status.
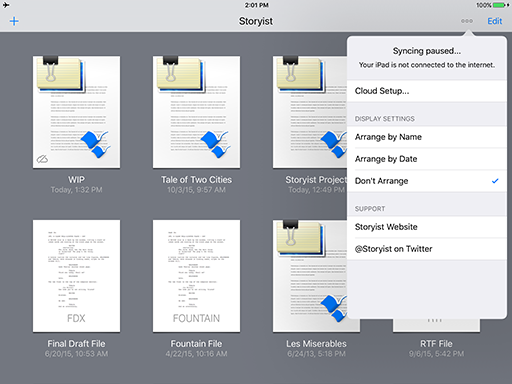
You would see the above message if, for example, your device was in Airplane Mode.
Occasionally, you’ll run into situations where you’ve made changes to the local copy of a file on more than once device before the changes have a chance to sync to the cloud. This situation creates what is known as a sync conflict. In this case, Storyist marks the file with a warning icon and present a dialog asking you to choose which version(s) to keep.
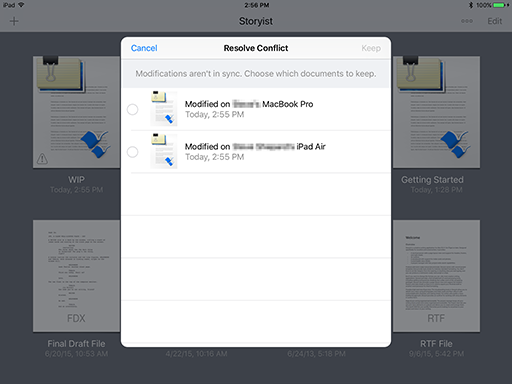
To resolve the conflict, just tap the documents you want to keep and tap the Keep button. Storyist then syncs your chosen files to the cloud and from there to your other devices.
If you choose to store your files in Dropbox, you have the option of turning off automatic syncing. You can do this when you first choose Dropbox as a storage location, or any time after that by tapping the More menu and turning off the Sync Automatically switch.
When you’re ready to sync, just tap the More button again and then tap the Sync Now button.
When you tap Sync Now, Storyist for iOS will:
If you’re coming from Storyist 2 for iOS, you’ll recognize this as “one-tap” sync.
This method lets you manage your network use more carefully but has the potential to create more sync conflicts if you forget to sync your changes.
If you want even more control over the update process, you can forego both manual and automatic syncing altogether and use the import and export features of Storyist to copy individual files to and from the cloud.
The advantage of this method are:
This was the default option in Storyist 2 for iOS.
To use this method, set up your iOS devices to store files “On My iPad/iPhone Only” as described in the Users Guide.
Then, when you want to transfer files: