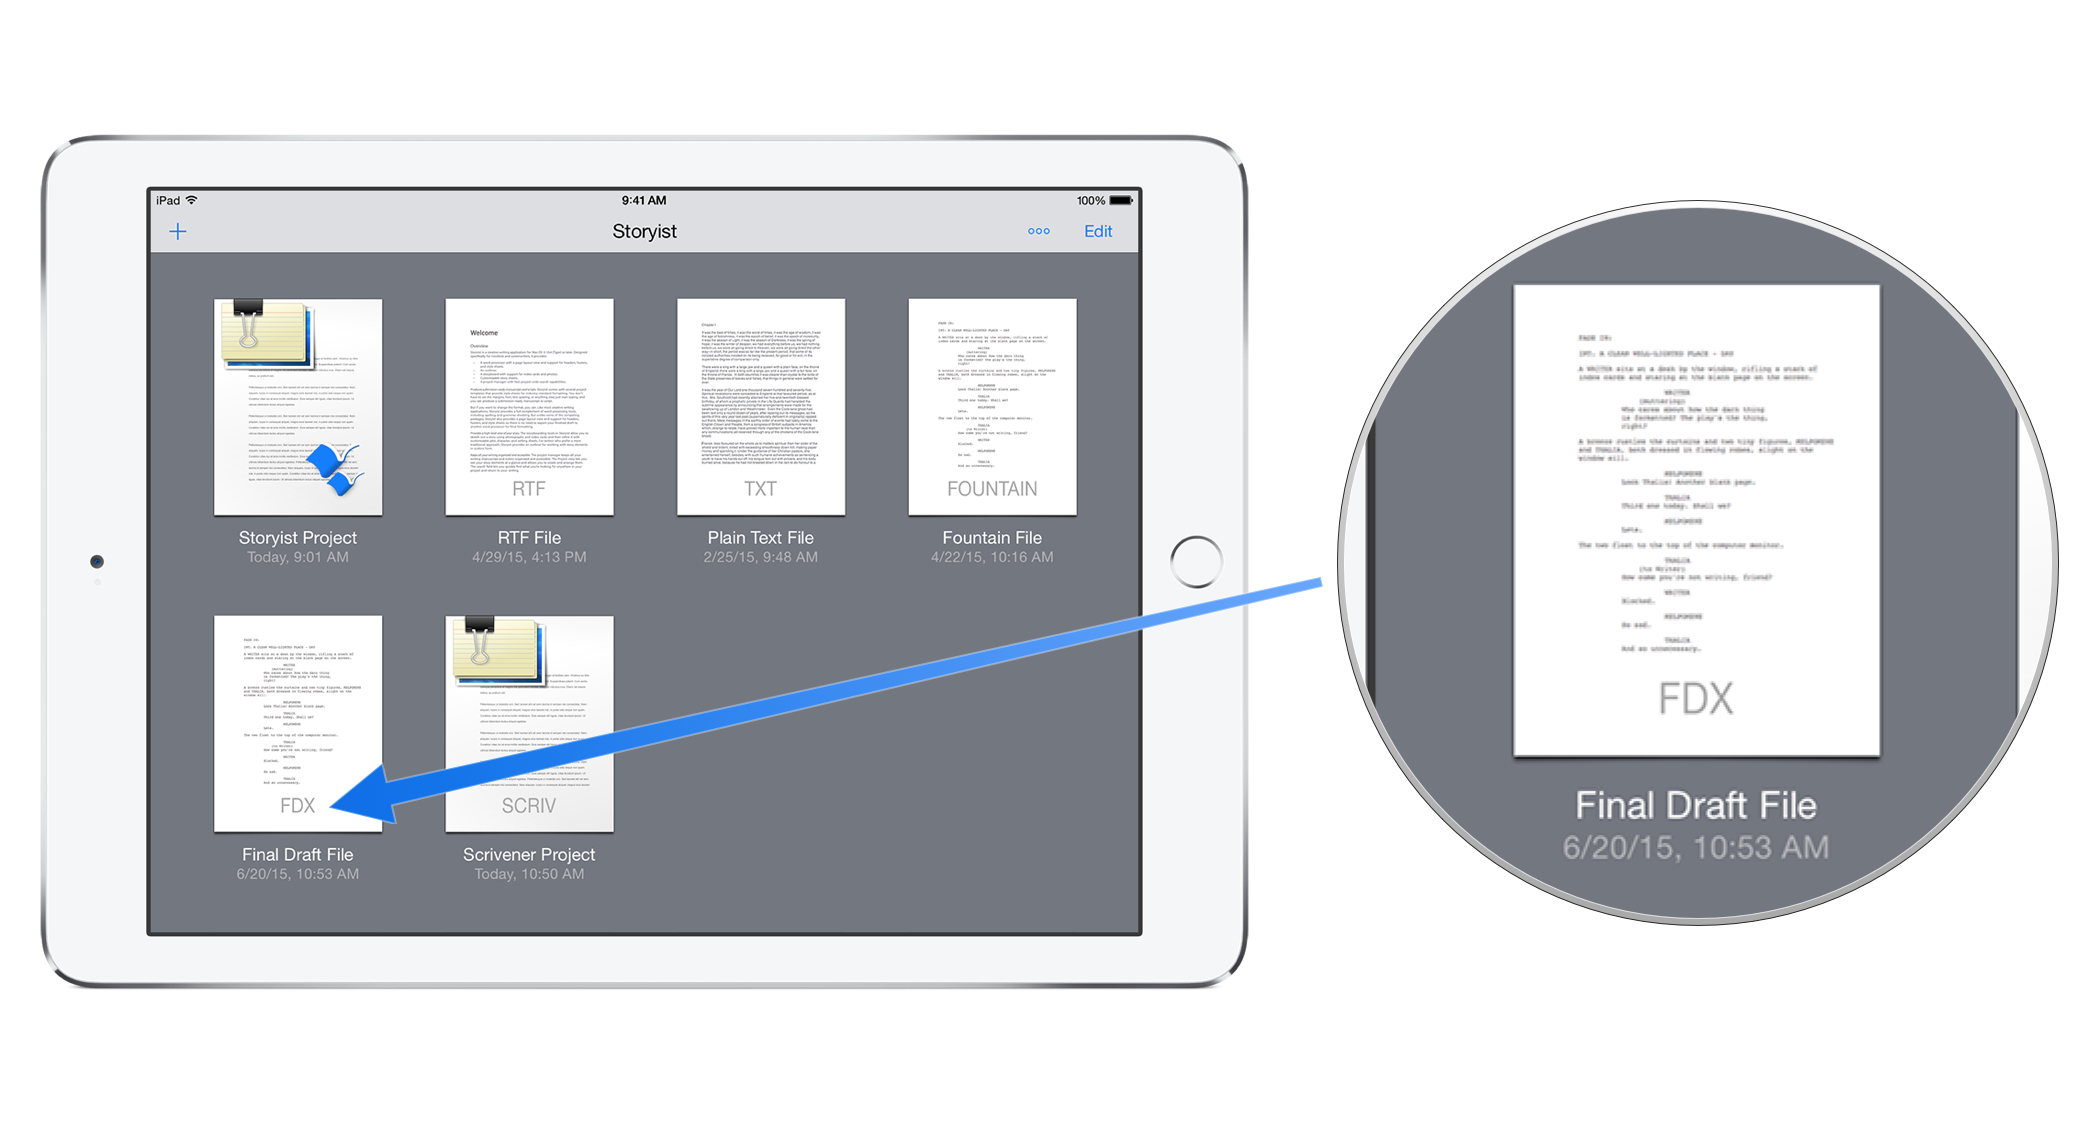
Editing Final Draft Files with Storyist for iOS

Like Storyist for macOS, Storyist for iOS can import and export Final Draft FDX files. Storyist for iOS takes it a step further by letting you edit FDX files directly.
To edit FDX files in Storyist for iOS:
- Install Storyist for iOS for iOS on your iPad or iPhone.
- Configure Storyist to store files in iCloud or Dropbox.
- Place your FDX files in the appropriate folder on your Mac or PC.
- If you’re using iCloud, place your files in the Storyist folder in your iCloud Drive folder. Note: Don’t create the iCloud Drive folder yourself. iCloud will create it for you after you setup iCloud in Storyist for iOS.
- If you’re using Dropbox, place your files in the Dropbox folder you chose in step 2.
- Open the files in Storyist for iOS and edit them.
iCloud/Dropbox will keep track of the changes you make in Storyist and sync them to the cloud and from there to your Mac or PC. Similarly, when you edit the files in Final Draft on your Mac or PC, iCloud/Dropbox will sync them to the cloud and then to your devices.
When editing FDX files using Storyist for iOS, you can:
- Edit and format text using the familiar tab and return key shortcuts. Storyist supports both draft mode and page mode and provides a styles inspector to edit screenplay formatting elements.
- Add, edit, reorganize, and delete index cards.
- Add, edit, and delete comments.
- Add, reorganize, and delete scenes in the outline view.
- Import and export files using iTunes, email, “send-to-app,” and the document picker. Storyist supports FDX, Fountain, PDF, RTF and plain text formats.
Storyist for iOS doesn’t support production features like locked pages or omitted scenes, but it’s great for writing, reviewing, and revising your script on the go.
