Storyist 3 Overview for Storyist 2 Users
Storyist 3 is a major upgrade that includes over 50 new features and sports a new, modern UI that looks great on Mac OS X Mavericks and Yosemite.
If you're a long-time Storyist user, you're probably curious about what's changed. This overview describes the changes in some detail.
To put the changes in context, the goals for Storyist 3 were:
- To streamline the interface and remove unnecessary complexity.
- To bring important features from the iPad version back to the Mac.
- To incorporate the most popular feature requests from long-time users.
With that said, here is what's new.
User Interface
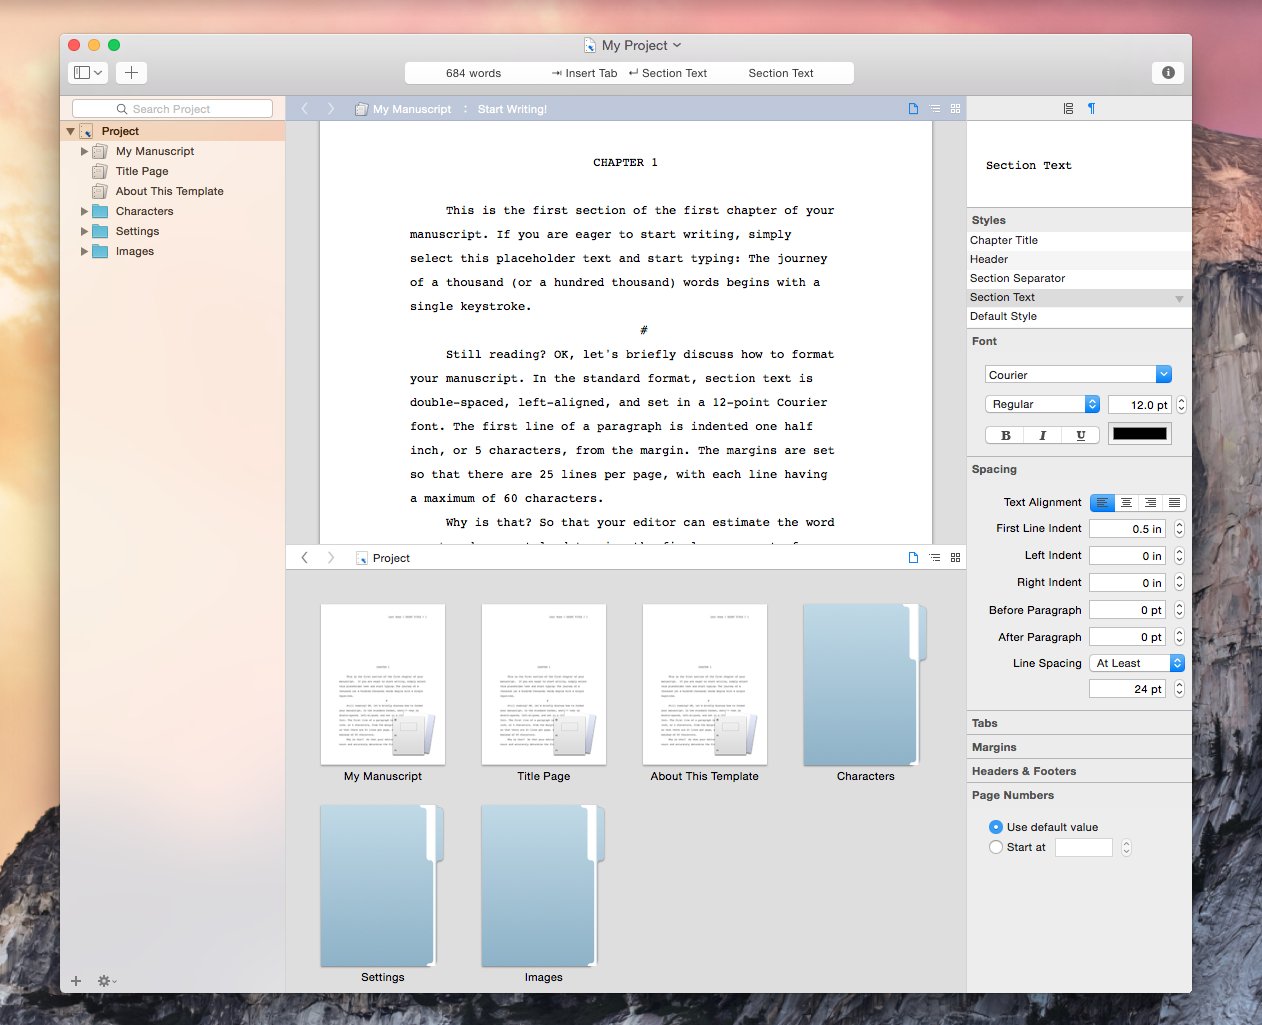
The most visible difference between Storyist 3 and Storyist 2 is the "chrome"—that is, the toolbar, navigation bar, and status bar.
In Storyist 3, the chrome, which is rendered in high-res on Macs with Retina displays, takes up less room. In Storyist 2, the chrome took up a combined 110 points of vertical screen space. In Storyist 3, it takes 78 points. This leaves more vertical height for your content.
Toolbar

The Storyist 3 toolbar has been redesigned to take advantage of Yosemite features. From left to right:
- The "Traffic Lights" (the red, yellow, and green buttons) have not changed, but note that on Yosemite, clicking the green button in any app takes you to full screen mode. On Mavericks and earlier, this instead causes the window to expand to use the entire screen. If you want this behavior on Yosemite, option+click the button instead.
- The new View button lets you toggle the project view and project trash, and manages the workspaces (split view setups) you've defined. This combines the functionality of the old Workspaces toolbar button, the show/hide project view menu item, and the trash button in Storyist 2.
- The Add button gives you a quick way to add text files, story sheets, and folders to your project. It replaces Project toolbar button in Storyist 2.
- The Status Bar shows context-sensitive information about the current selection. Examples include word count, project progress, and selected style. See below for more information. This replaces the non-customizable status bar at the bottom of the Storyist 2 window, freeing up 16 points of vertical space.
- The Inspector button toggles the Inspector visibility.
The Status Bar
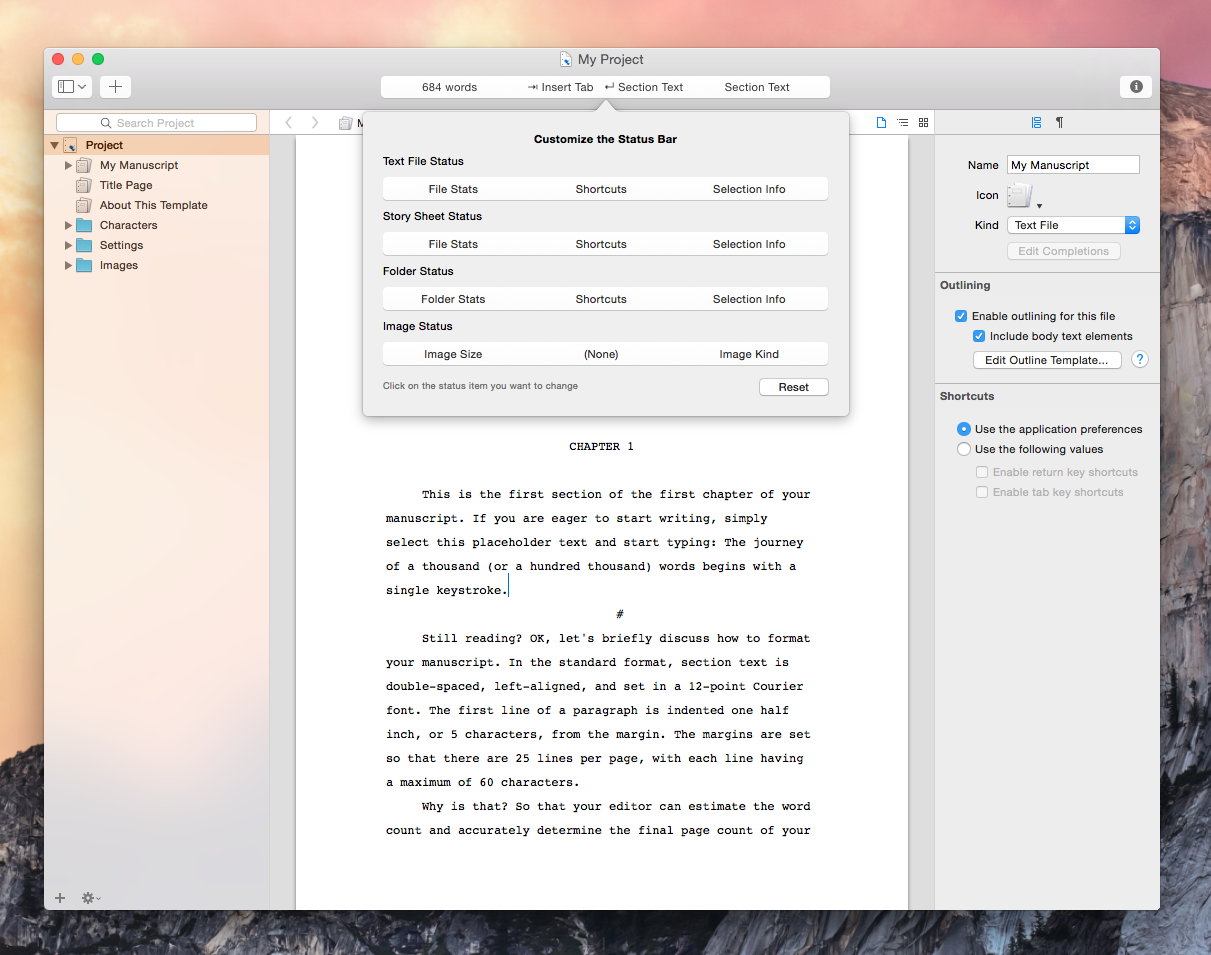
As mentioned above, The status bar shows context-sensitive information about the current selection. You can customize what information is shown for each segment of the bar using either the View > Customize Status Bar command or by option+clicking the status bar.
The Navigation Bar
The navigation bar has some new features design to allow you to access the files in your project with the Project view hidden.
- Clicking on the file name in the project view now presents a popup that lets you choose any file in the project.
- Clicking and holding on the Back/Forward buttons presents a popup with your navigation history, making it possible to jump directly to something you've recently edited.
The Project View
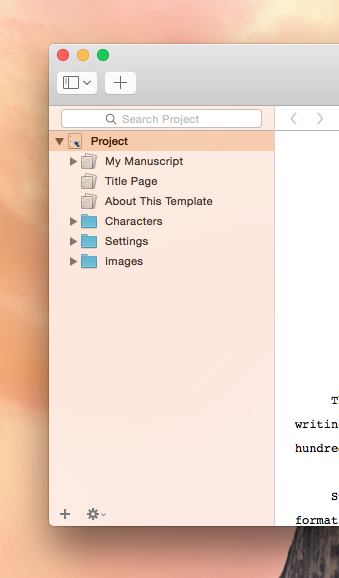
The Project view features many refinements:
- The Search field is now available above the project view.
- Search results now appear in the project view, making navigating the "hits" more intuitive, and leaving more space on laptop screens for content.
- You can now hide text file outlines in the Project view if desired. This is useful if you prefer to create a separate file for each chapter. To hide text files outlines, click the Action (gear) button at the bottom of the Project view and choose Hide Text File Outlines.
- In Storyist 3, there is no difference between categories (represented by gray text in all caps in Storyist 2) and folders. This matches the appearance in Storyist for iOS.
- Storyist 3 uses a single icon for both text files with outlining enabled and text files without it enabled. Storyist 2 used separate icons for these situations (e.g. manuscripts and notebook entries). If you prefer the old look, you can change the text file icons in the Appearance pane of the Preferences window.
- The Add button now causes file template picker to appear. In Storyist 2, clicking the Add button created another item of the selected type. In Storyist 3, Option+click to get this behavior.
- The Show/Hide Trash function, which in Storyist 2 was accessed as a third button at the bottom of the Project view, is now available from the View menu in the toolbar.
- On Yosemite, the Project view background is semi-transparent. This is a system-wide effect, and you can disable it if you want as described here.
The Inspector
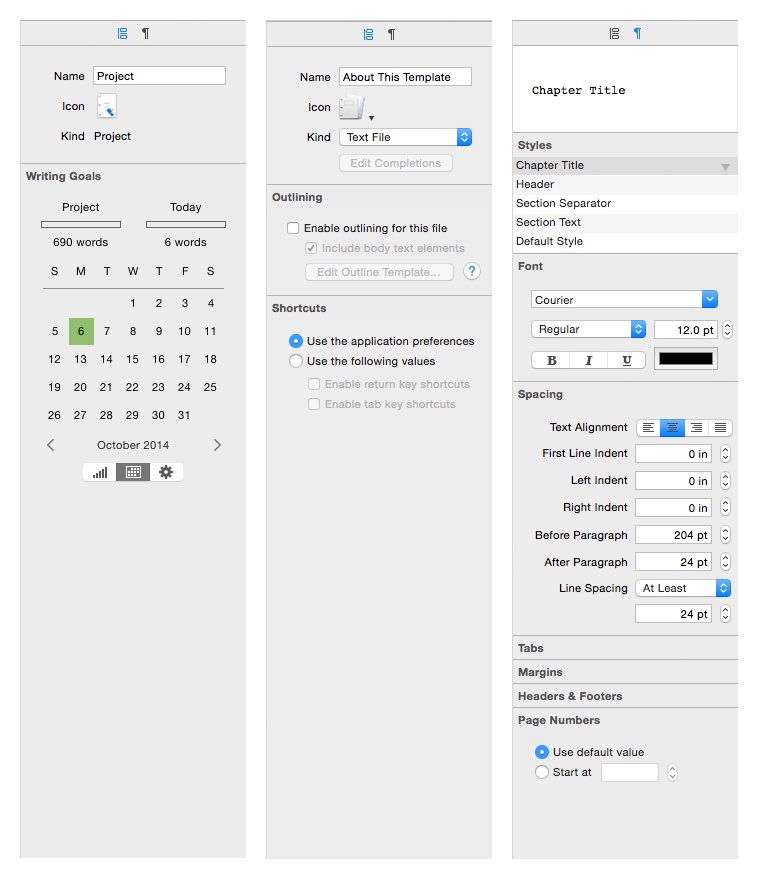
In Storyist 3, the Inspector is part of the main window, and has two kinds of panes: Info panes and Formatting panes. The screenshot above shows the project and text file Info panes and the text file Formatting pane.
The Info panes provide access to project item configuration options and replace the project item preferences windows that were accessible from the Project > Edit <item name> Preferences command in Storyist 2.
Some new features to note:
- The Text Info pane adds an option that allows you to turn off display of body text elements in the outline—good for people who write in chapters, not sections.
- The new Image Info pane gives access to image metadata (EXIF, etc..)
The Formatting panes provide assess to formatting commands.
New features include:
- New outline and storyboard formatting inspectors that let you quickly customize the appearance of these views.
- Automatic window resizing. When showing or hiding the Inspector (or Project view), the window now automatically adjusts to the new content size. You can turn this feature off via the "Resize windows when showing/hiding sidebars" checkbox in the General pane in the Preferences window.
- In full screen mode, the Inspector appears when you move the mouse over the right edge of the screen.
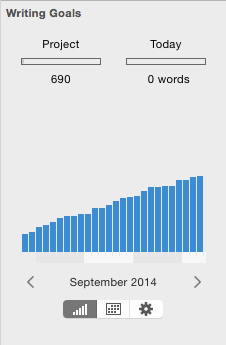
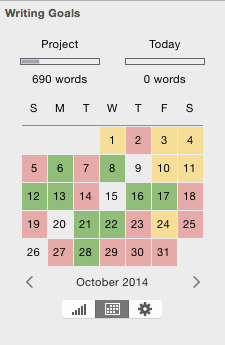
Storyist 3 can track both a daily word count goal, and a project word count goal. You can use the Info inspector for the Project to set these goals and track your progress.
Note: You can configure the status bar to show the project word count and progress if you want.
Folder View
A new Folder view shows folder contents. In Storyist 2, clicking on a folder in the Project view did nothing. Storyist 3 (like Storyist for iOS) navigates to a view showing the folder contents.
You can drag files to a Folder view to import them into the project.
Welcome Window
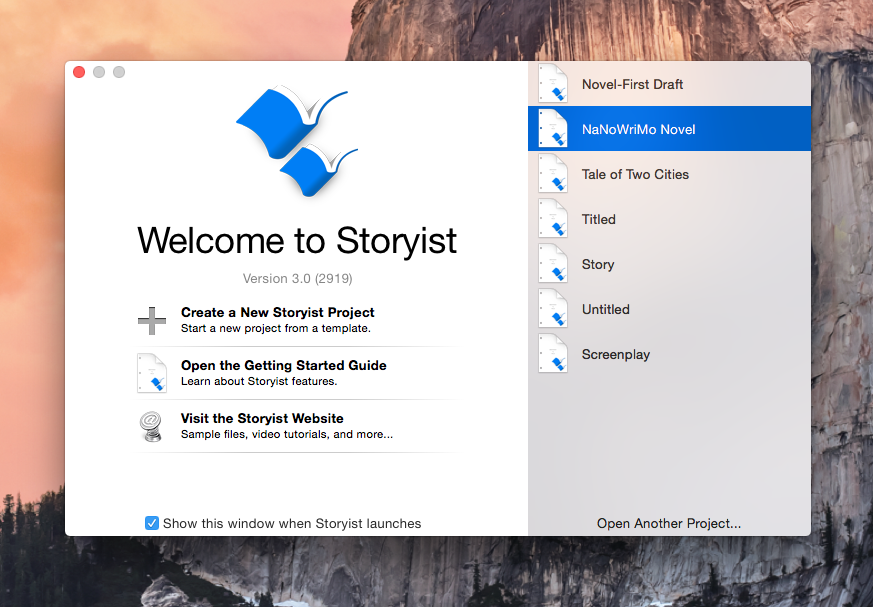
A new welcome window shows you your recently edited projects and provides quick access to things helpful to writers who are new to Storyist. This window appears when you launch Storyist when there are no open projects to restore. You can also show it using the Window > Welcome to Storyist command.
Autosave and Versions Support
Not as visible as the UI changes, but just as important, the new Autosave and Versions implementation provides better backup and versioning support.
Autosave
Storyist 3 automatically saves your file to disk every few minutes to help minimize data loss in case of power failure or other unforeseen circumstances. Before you save your project for the first time, Storyist uses a temporary location on your hard disk to store your changes. After you save your project to its permanent location, Storyist continues automatically saving your work to the location you've chosen.
Autosave occurs every few minutes. If you're typing, OS X will try to wait for a pause in your activity before saving.
Autosave also occurs when you switch to another app, when you close the document, and when you quit the application.
Versions
Storyist also makes periodic copies of your entire project. These copies are referred to as versions. Versions are created each time you open a project and every hour while you’re working on it.
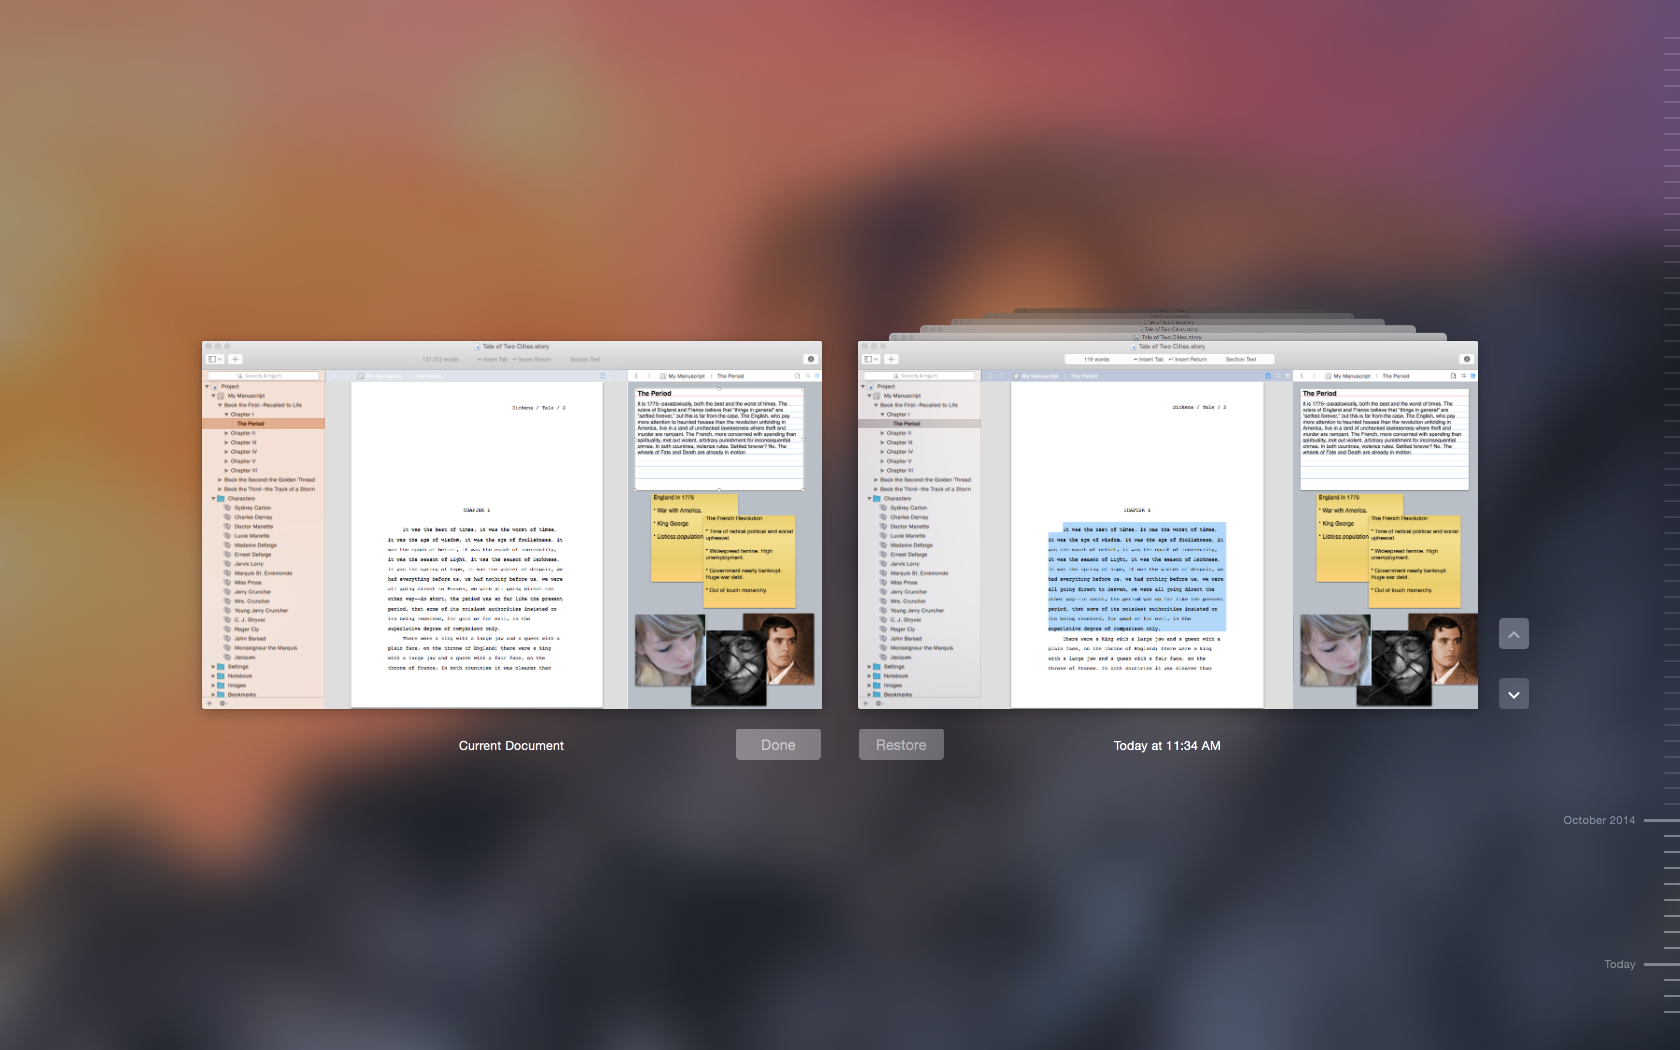
You can view these automatically saved versions and compare them to the current project using the Versions Browser as follows:
- Open the project whose previous versions you want to view.
- Choose File > Revert To > Browse All Versions.
- Click the timeline on the right to move forward and backward in the version history.
The Versions Browser is integrated with Apple's Time Machine backup software, so if you set up Time Machine, you'll be able to browse versions that are saved not only on your local machine, but on your Time Machine hard drive as well. This makes it easy to, for example, copy sections of text from a previous version and paste it into your current version. The Versions Browser also lets you restore a previous version.
To make efficient use of space, OS X periodically prunes the automatically created versions of a project on your hard drive, keeping hourly versions for a day, daily versions for a month, and weekly versions for all previous months.
OS X does not prune any versions you create manually using the File > Save a Version command.
iCloud Drive Support
When Apple introduced Autosave and Versions (in Mac OS X 10.7 Lion), they also made some changes to the File menu commands to better support iCloud. Storyist 3 supports iCloud Drive (which is available on Yosemite) and adopts these changes.
The File menu changes are as follows:
- Save—With Autosave, changes are saved to your project file soon after you make them. The Save command causes the changes to be written immediately, and also creates a new version in the versions history.
- Duplicate—The Duplicate command creates a copy of your document, which you can then rename and save. If you pull down the File menu and press the Option key, the Duplicate command changes to Save As and presents the Save dialog.
- Move To—The new Move To command presents a dialog allowing you to choose a new location to store the document.
- Revert To—The Revert To command (formerly named Revert to Saved) now has several options: Revert To > Last Saved and Revert To > Last Opened. The first revert the document to the state it was in the last time it was saved. The second reverts the document to the state it was in when you last opened it. There is also a Revert To > Browse All Versions command that causes the versions browser to appear (see above) and lets you pick a version in your version history to restore.
Note: By default, changes are now automatically saved when you close a document. This means that no save dialog is necessary, and so none appears. If you want to manually confirm changes before closing a document, open the System Preferences and click the "Ask to keep changes when closing documents" checkbox in the General pane.
File Templates
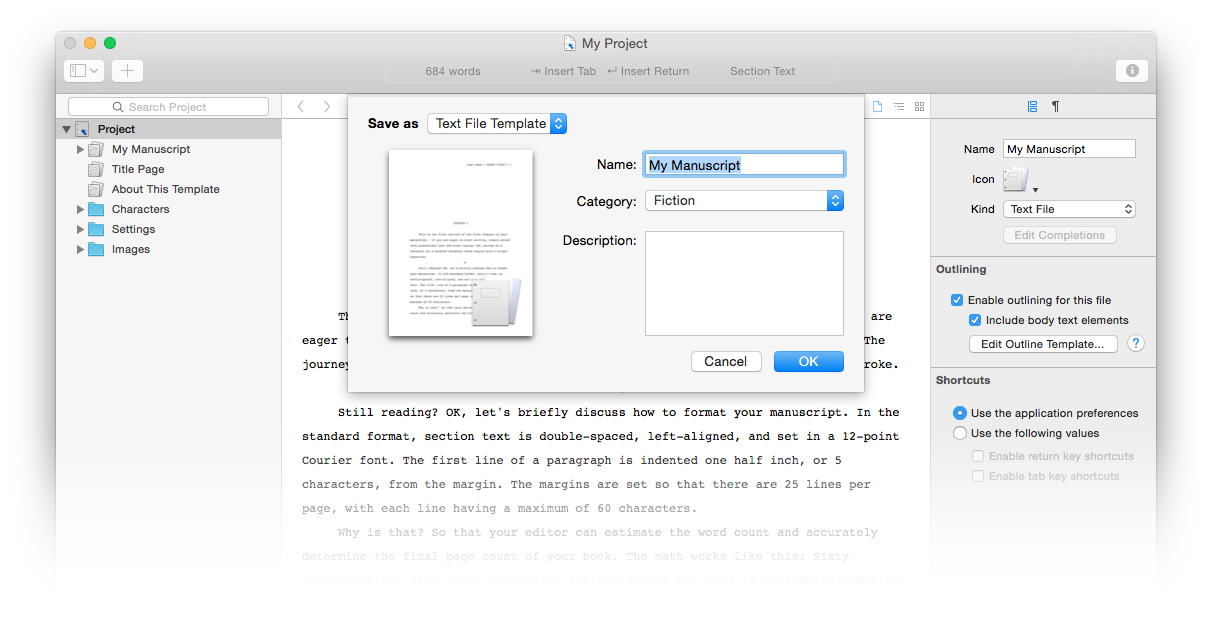
Storyist 2 let you create project templates to use as starting points for new projects. Storyist 3 adds support for text file templates, so you can create templates for individual notebook entries, journal entries, research, query letters– whatever your project requires.
To create a text file template, navigate to the file you want to uses as a template, choose File > Save as Template, and choose Text File Template from the popup in the template dialog.
Text Editing
Snippets
A new text shortcut facility lets you define multi-part text snippets (bits of text) to be inserted with just a few keystrokes. Default snippets make it a snap to write dialog without having to type the punctuation characters.

For example, to trigger the above dialog snippet:
- Position the cursor in some text.
- Type "sa" (the snippet trigger) and then press the Tab key. This causes the above snippet to be inserted. Notice that the dialog bubble is selected.
- Type some dialog and then press the Tab key again. This moves the selection to the second bubble.
- Press Return.
Voila. Dialog entered without having to type any punctuation. You can define your own snippets in the Text Editing pane of the Preferences window.

Incremental Find Bar

The incremental find bar shows all find "hits" on a page and includes support for wildcard search terms. The bar, which appears just below the navigation bar when you choose Edit > Find, replaces the Find window in Storyist 2.
Change Style Sheets
Storyist 3 adds the ability to reformat a text file with the stylesheet of any template or file in the project. Use the Format > Style > Change Style Sheet menu command to accomplish this.
Miscellaneous Enhancements
- Storyist 3 can display Invisible Characters, so it is easier to find stray characters in your text. Use View > Show Invisible Characters to show them.
- Story sheets now provide word counts.
- Page guides now appear automatically when you click in a header or footer.
- Page numbering can now begin at an arbitrary number.
- Style overrides are now displayed at the top of the formatting inspector in addition to the tooltip that appears when you hover the cursor over an overridden style in the Styles table.
- The text editor now offers 175% zoom option–a good size for full screen editing on laptops with smaller screens.
- The text editor supports "typewriter scrolling," which causes the selected text remain centered on the screen as you type. Use Edit > Enable Typewriter Scrolling to enable this feature.
- Storyist can now open and export Scrivener projects.
Outlining
Storyist 3 offers several new outlining-related features:
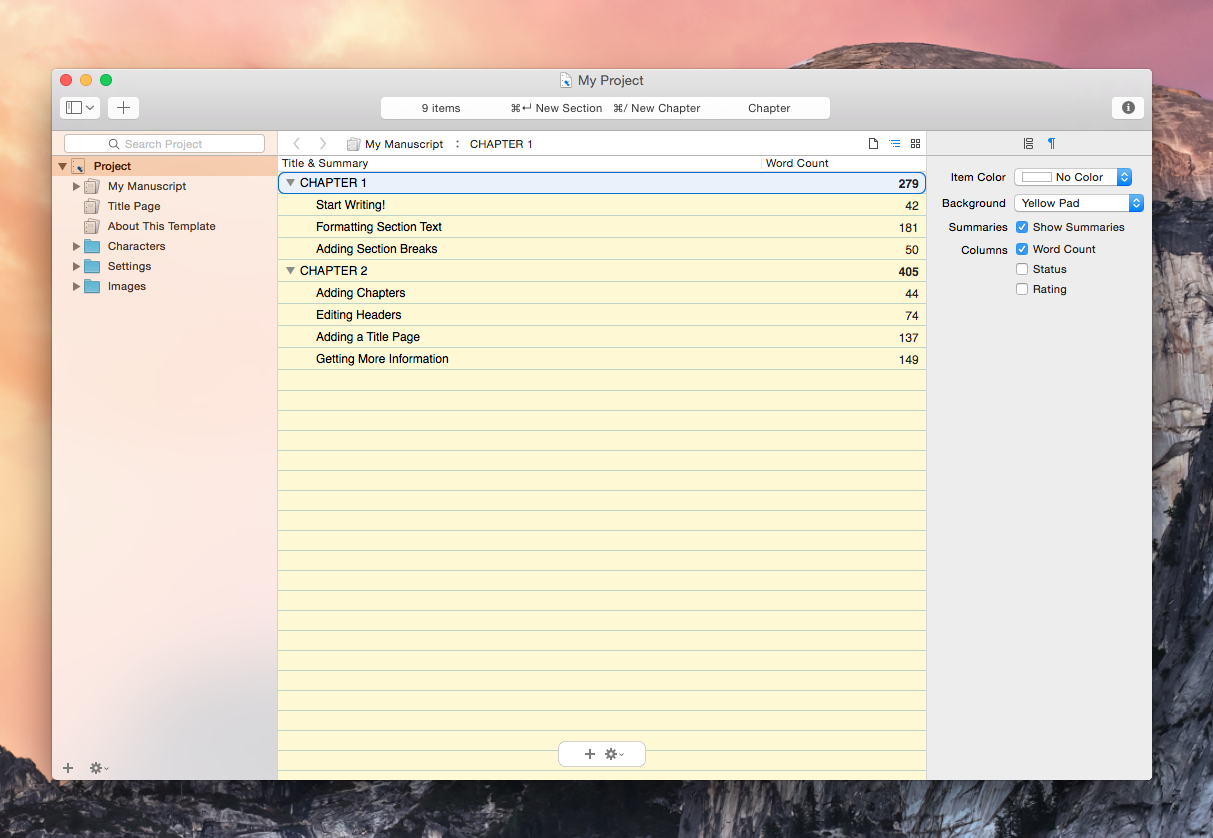
- Word Count Rollups—Heading level outline items now show the cumulative word counts for their contents so you can see the word counts for both sections and chapters at-a-glance. See the screenshot above for an example.
- Show/Hide Body Text—You can now hide body text sections in the project and outline views (great if you write in chapters, not sections) by unchecking the "Include body text elements" in the Outline pane of the Info inspector.