So you've downloaded Storyist for macOS, read the Users Guide, and spent time planning your novel. Great! Here are some additional suggestions to help you get the most out of Storyist during NaNoWriMo.
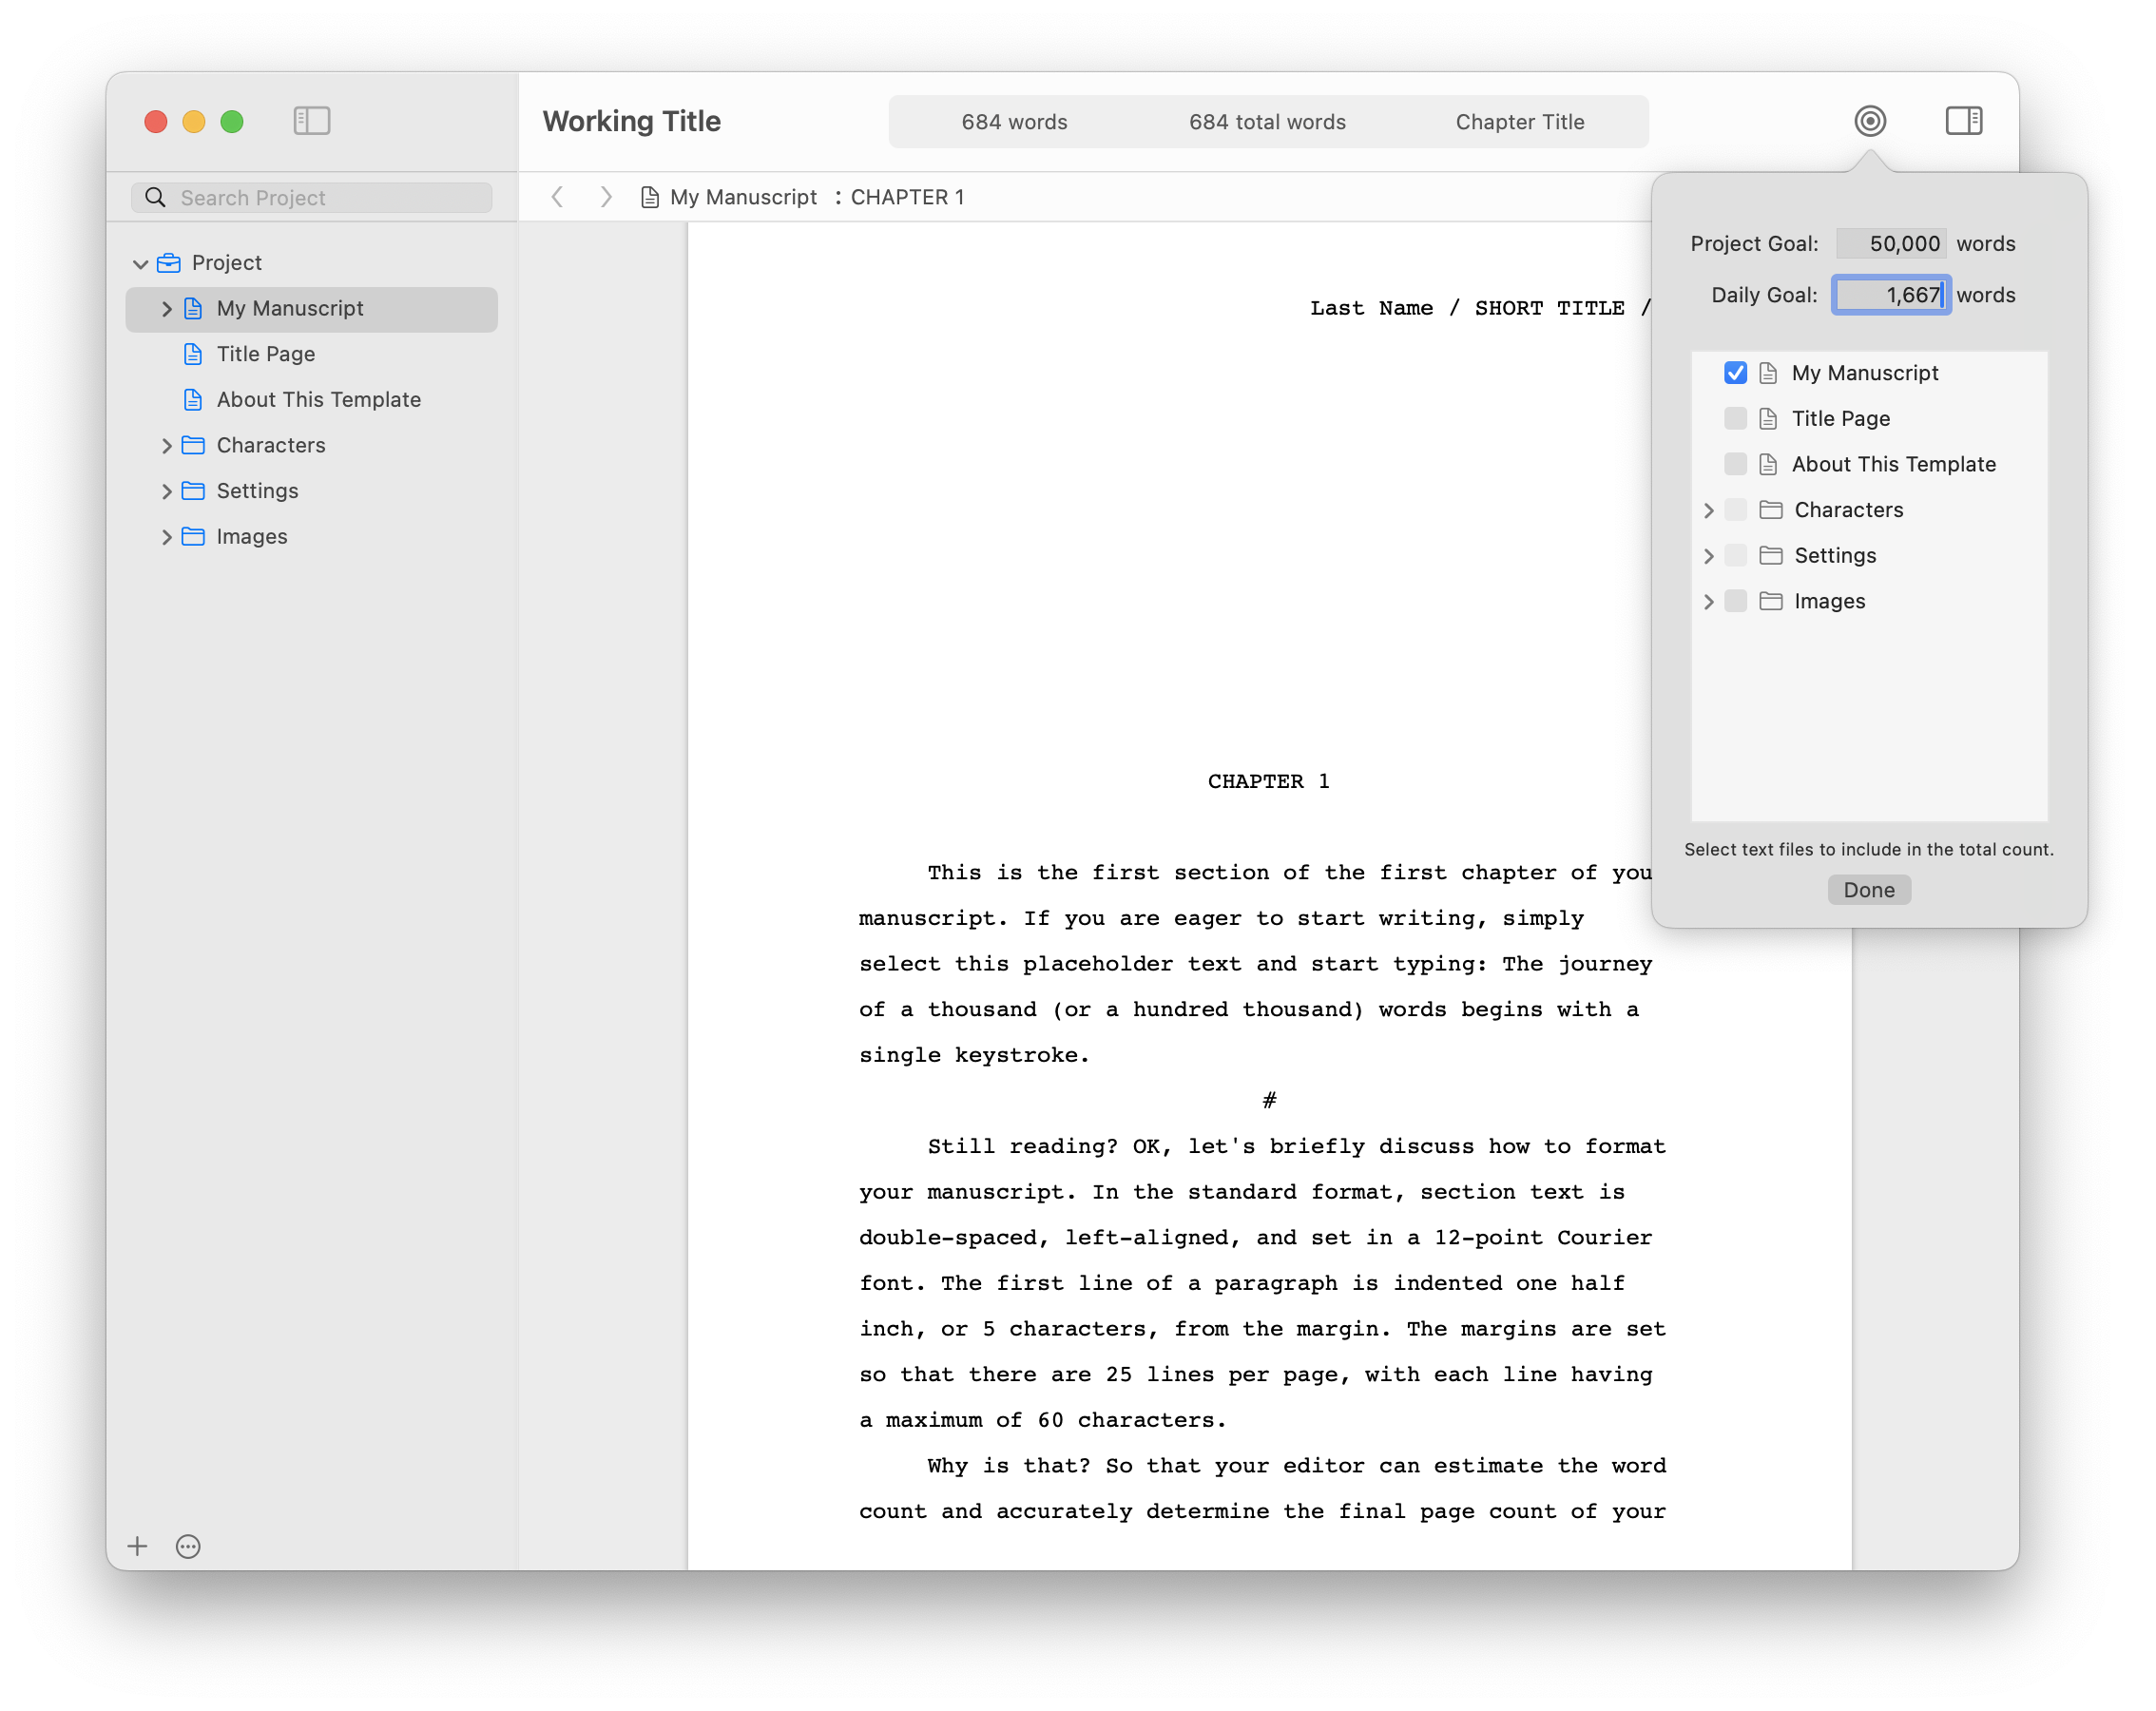
Storyist for macOS can track your daily word count and progress towards the magic 50k word goal. To set this up:
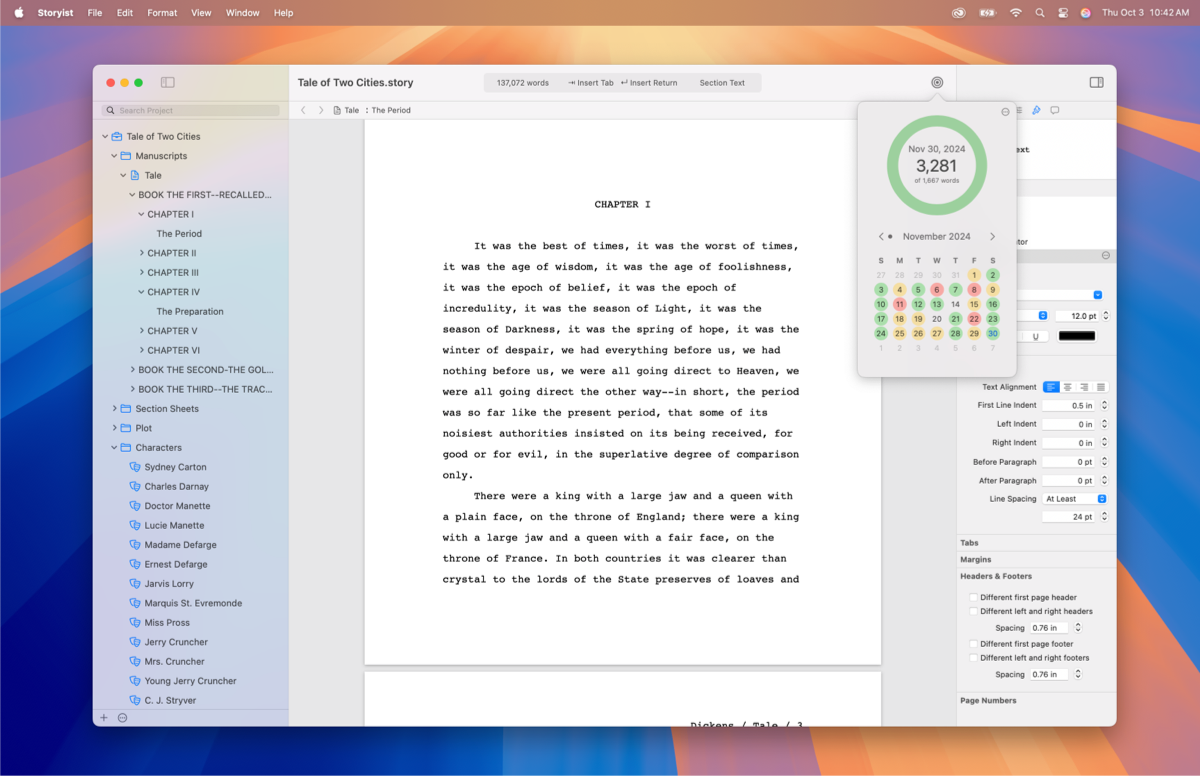
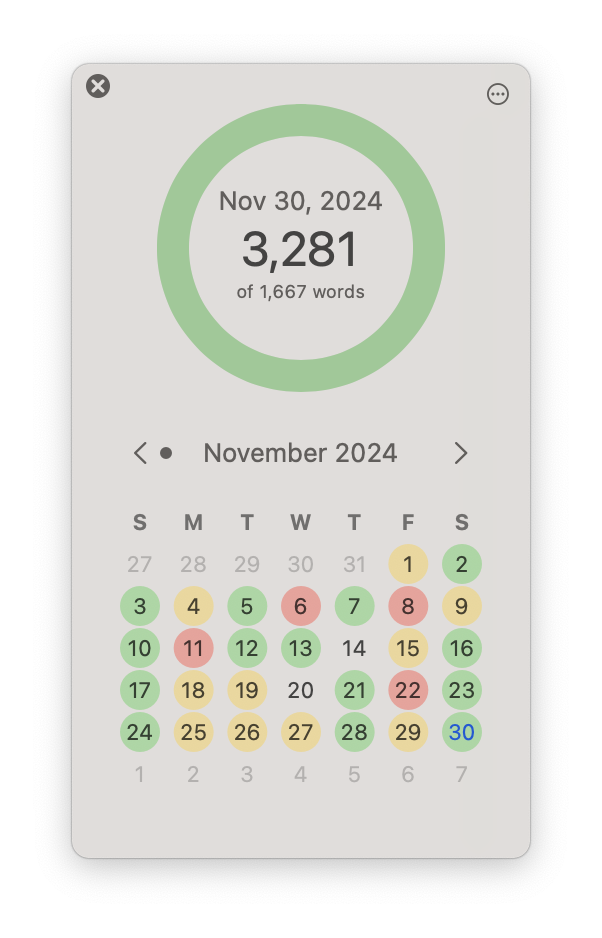
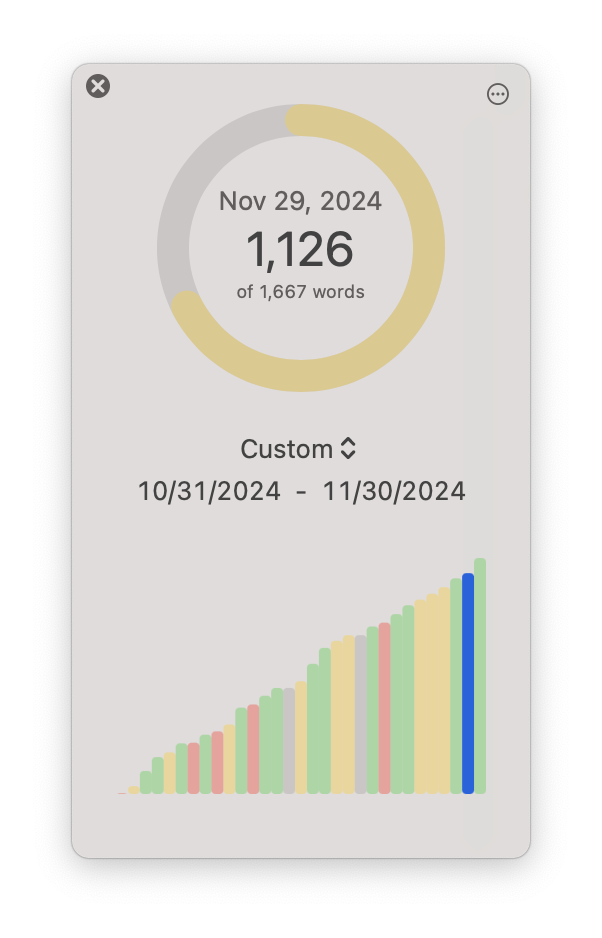
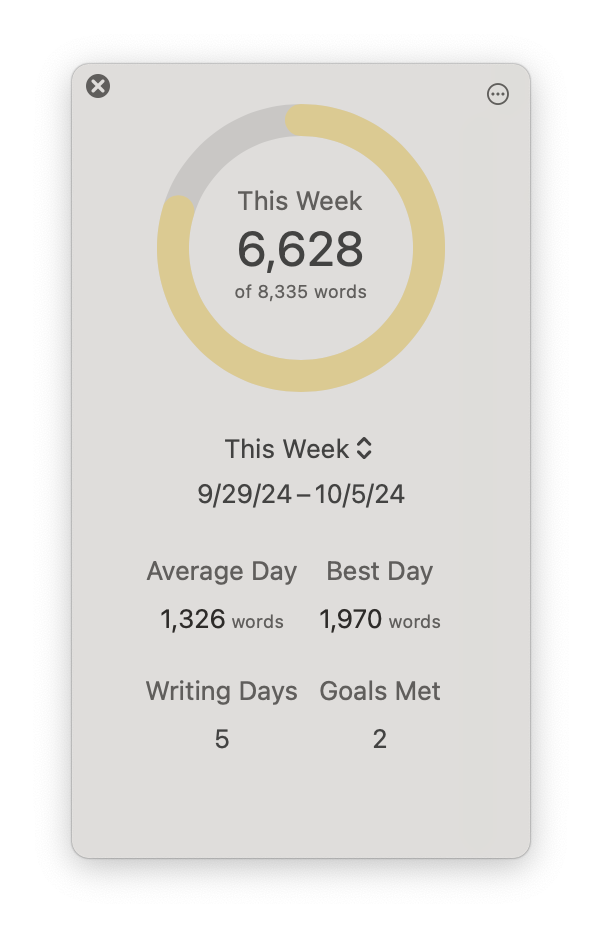
You can now use the Goals button to check your progress in November. The Goals popover provides three ways to see your progress: the calendar, graph, and summary views.
Storyist can also display your word count progress in the status bar. To set this up:
View > Customize Status Bar (or simply hold down the Option key while clicking on the status bar).
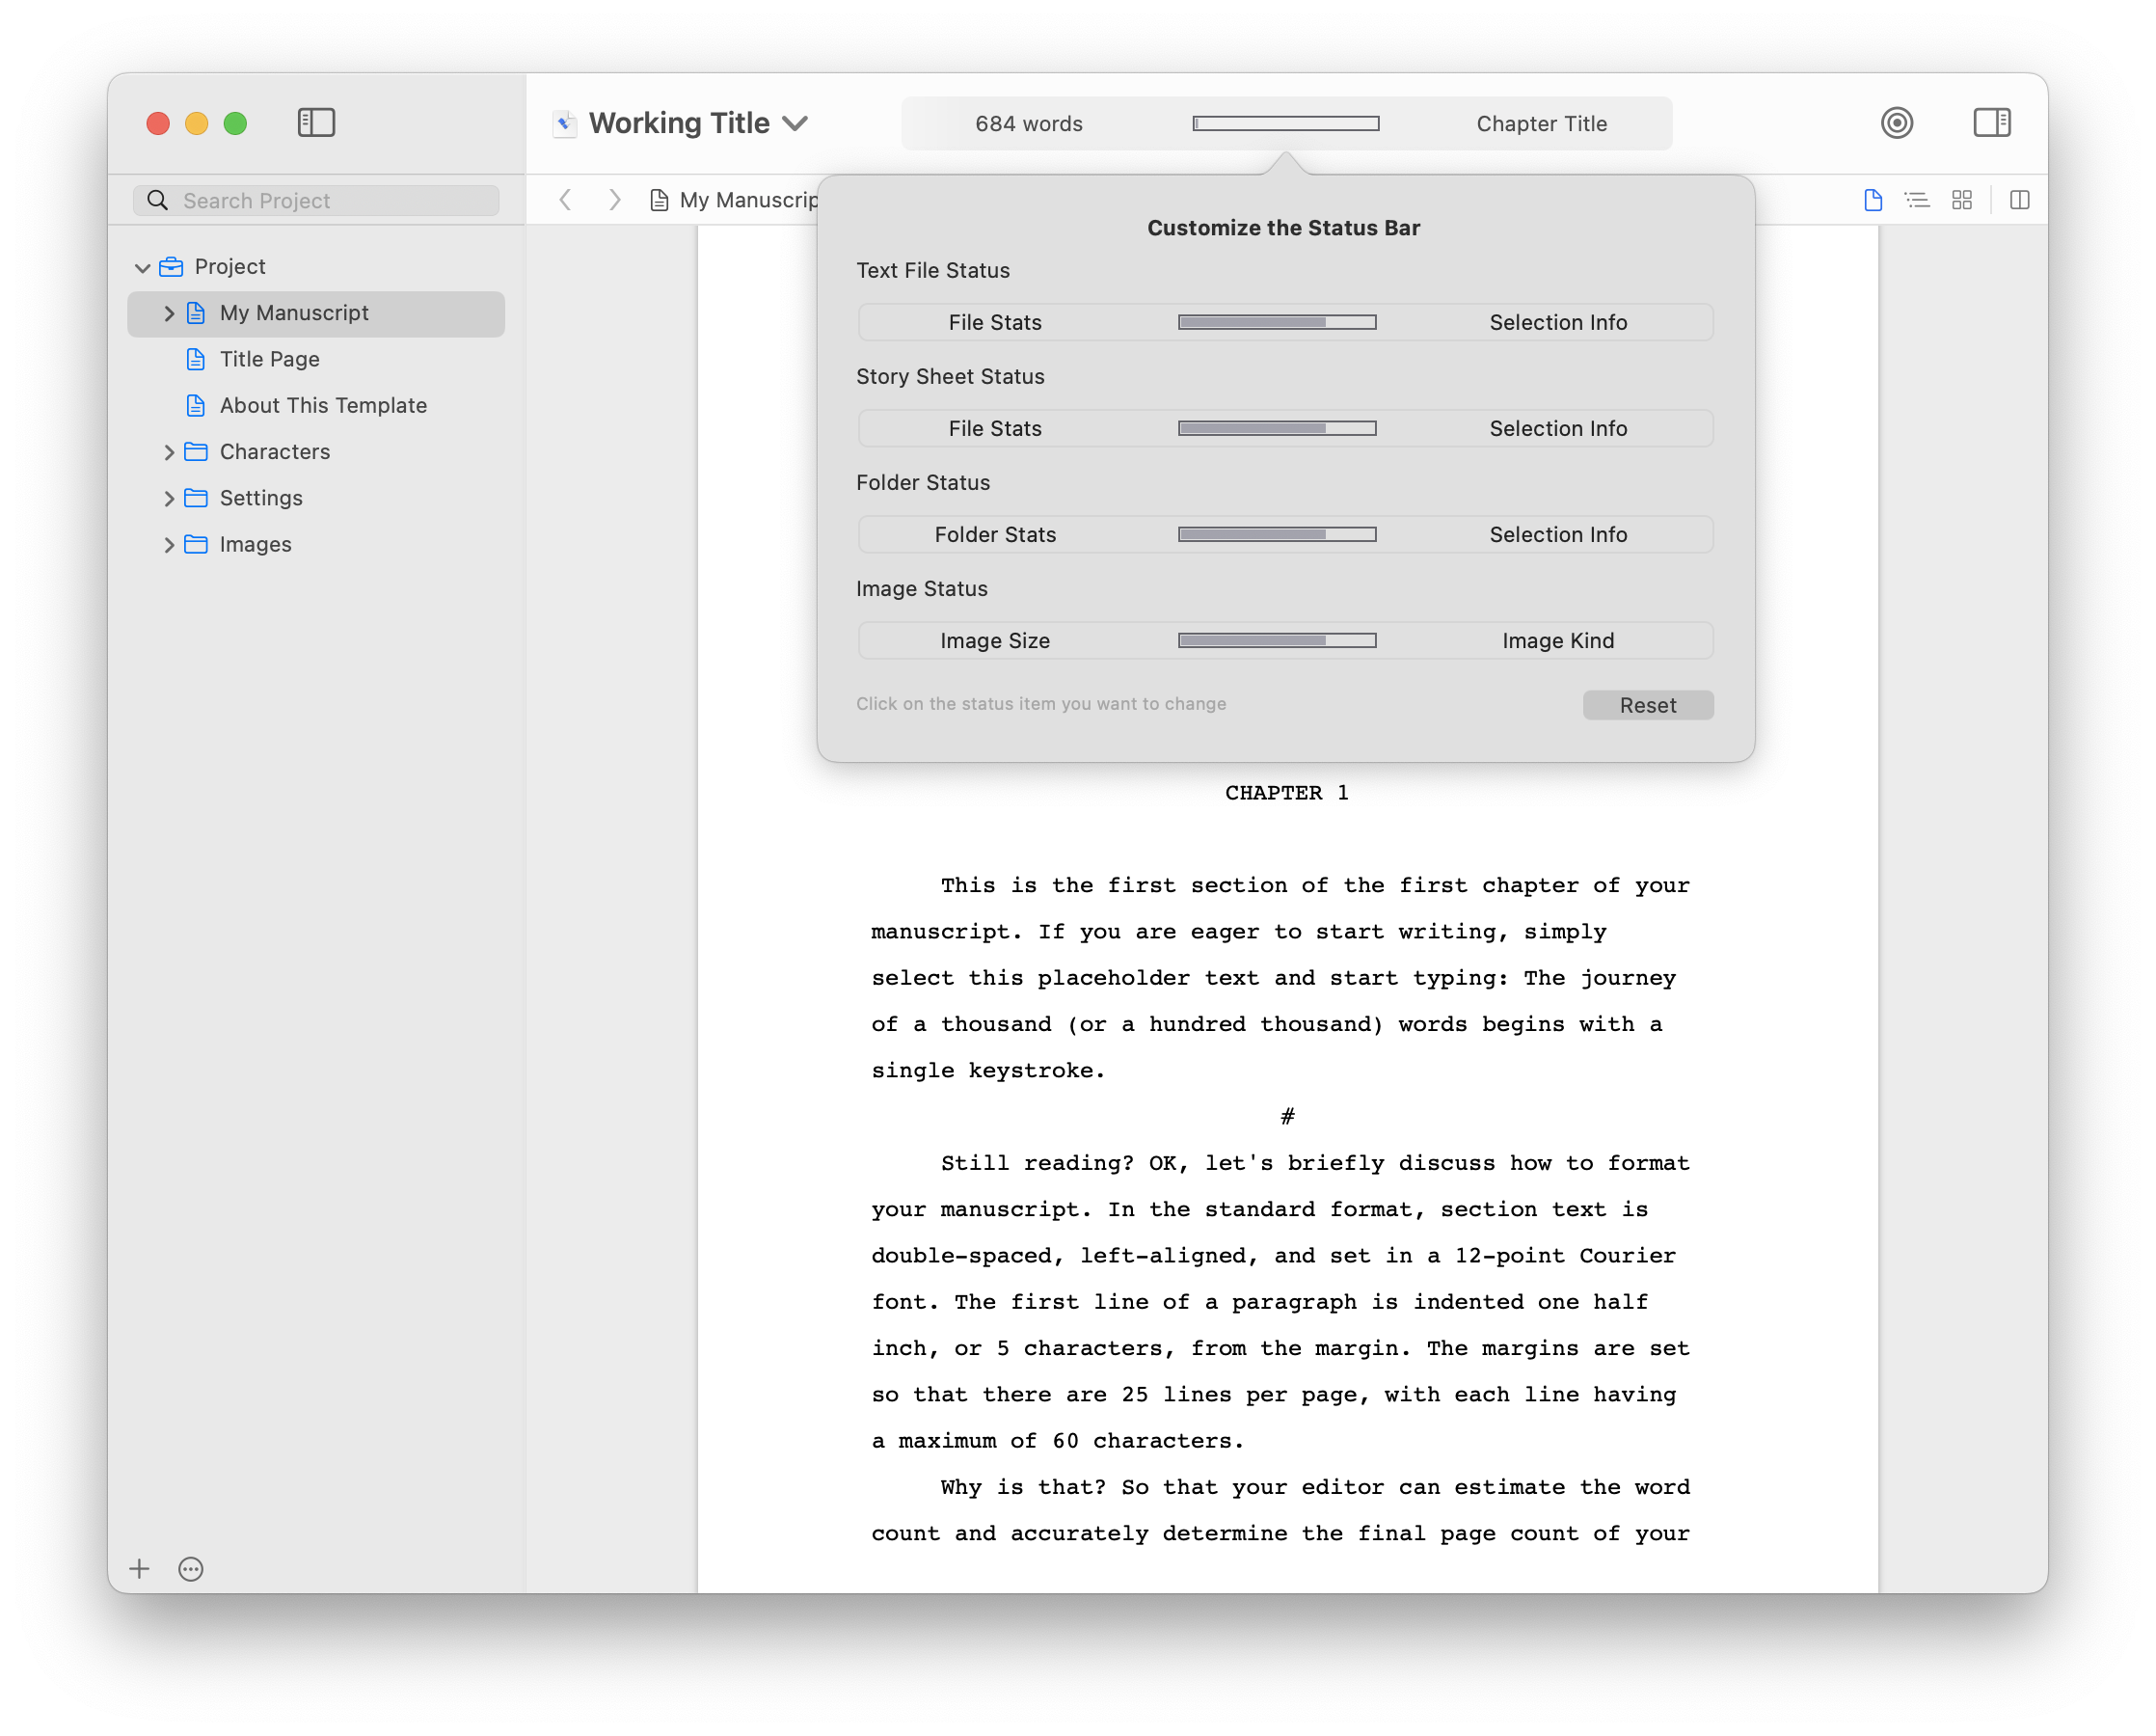
The status bar now displays a progress bar for all project file types. Clicking on the progress bar opens a popover window with your project info.
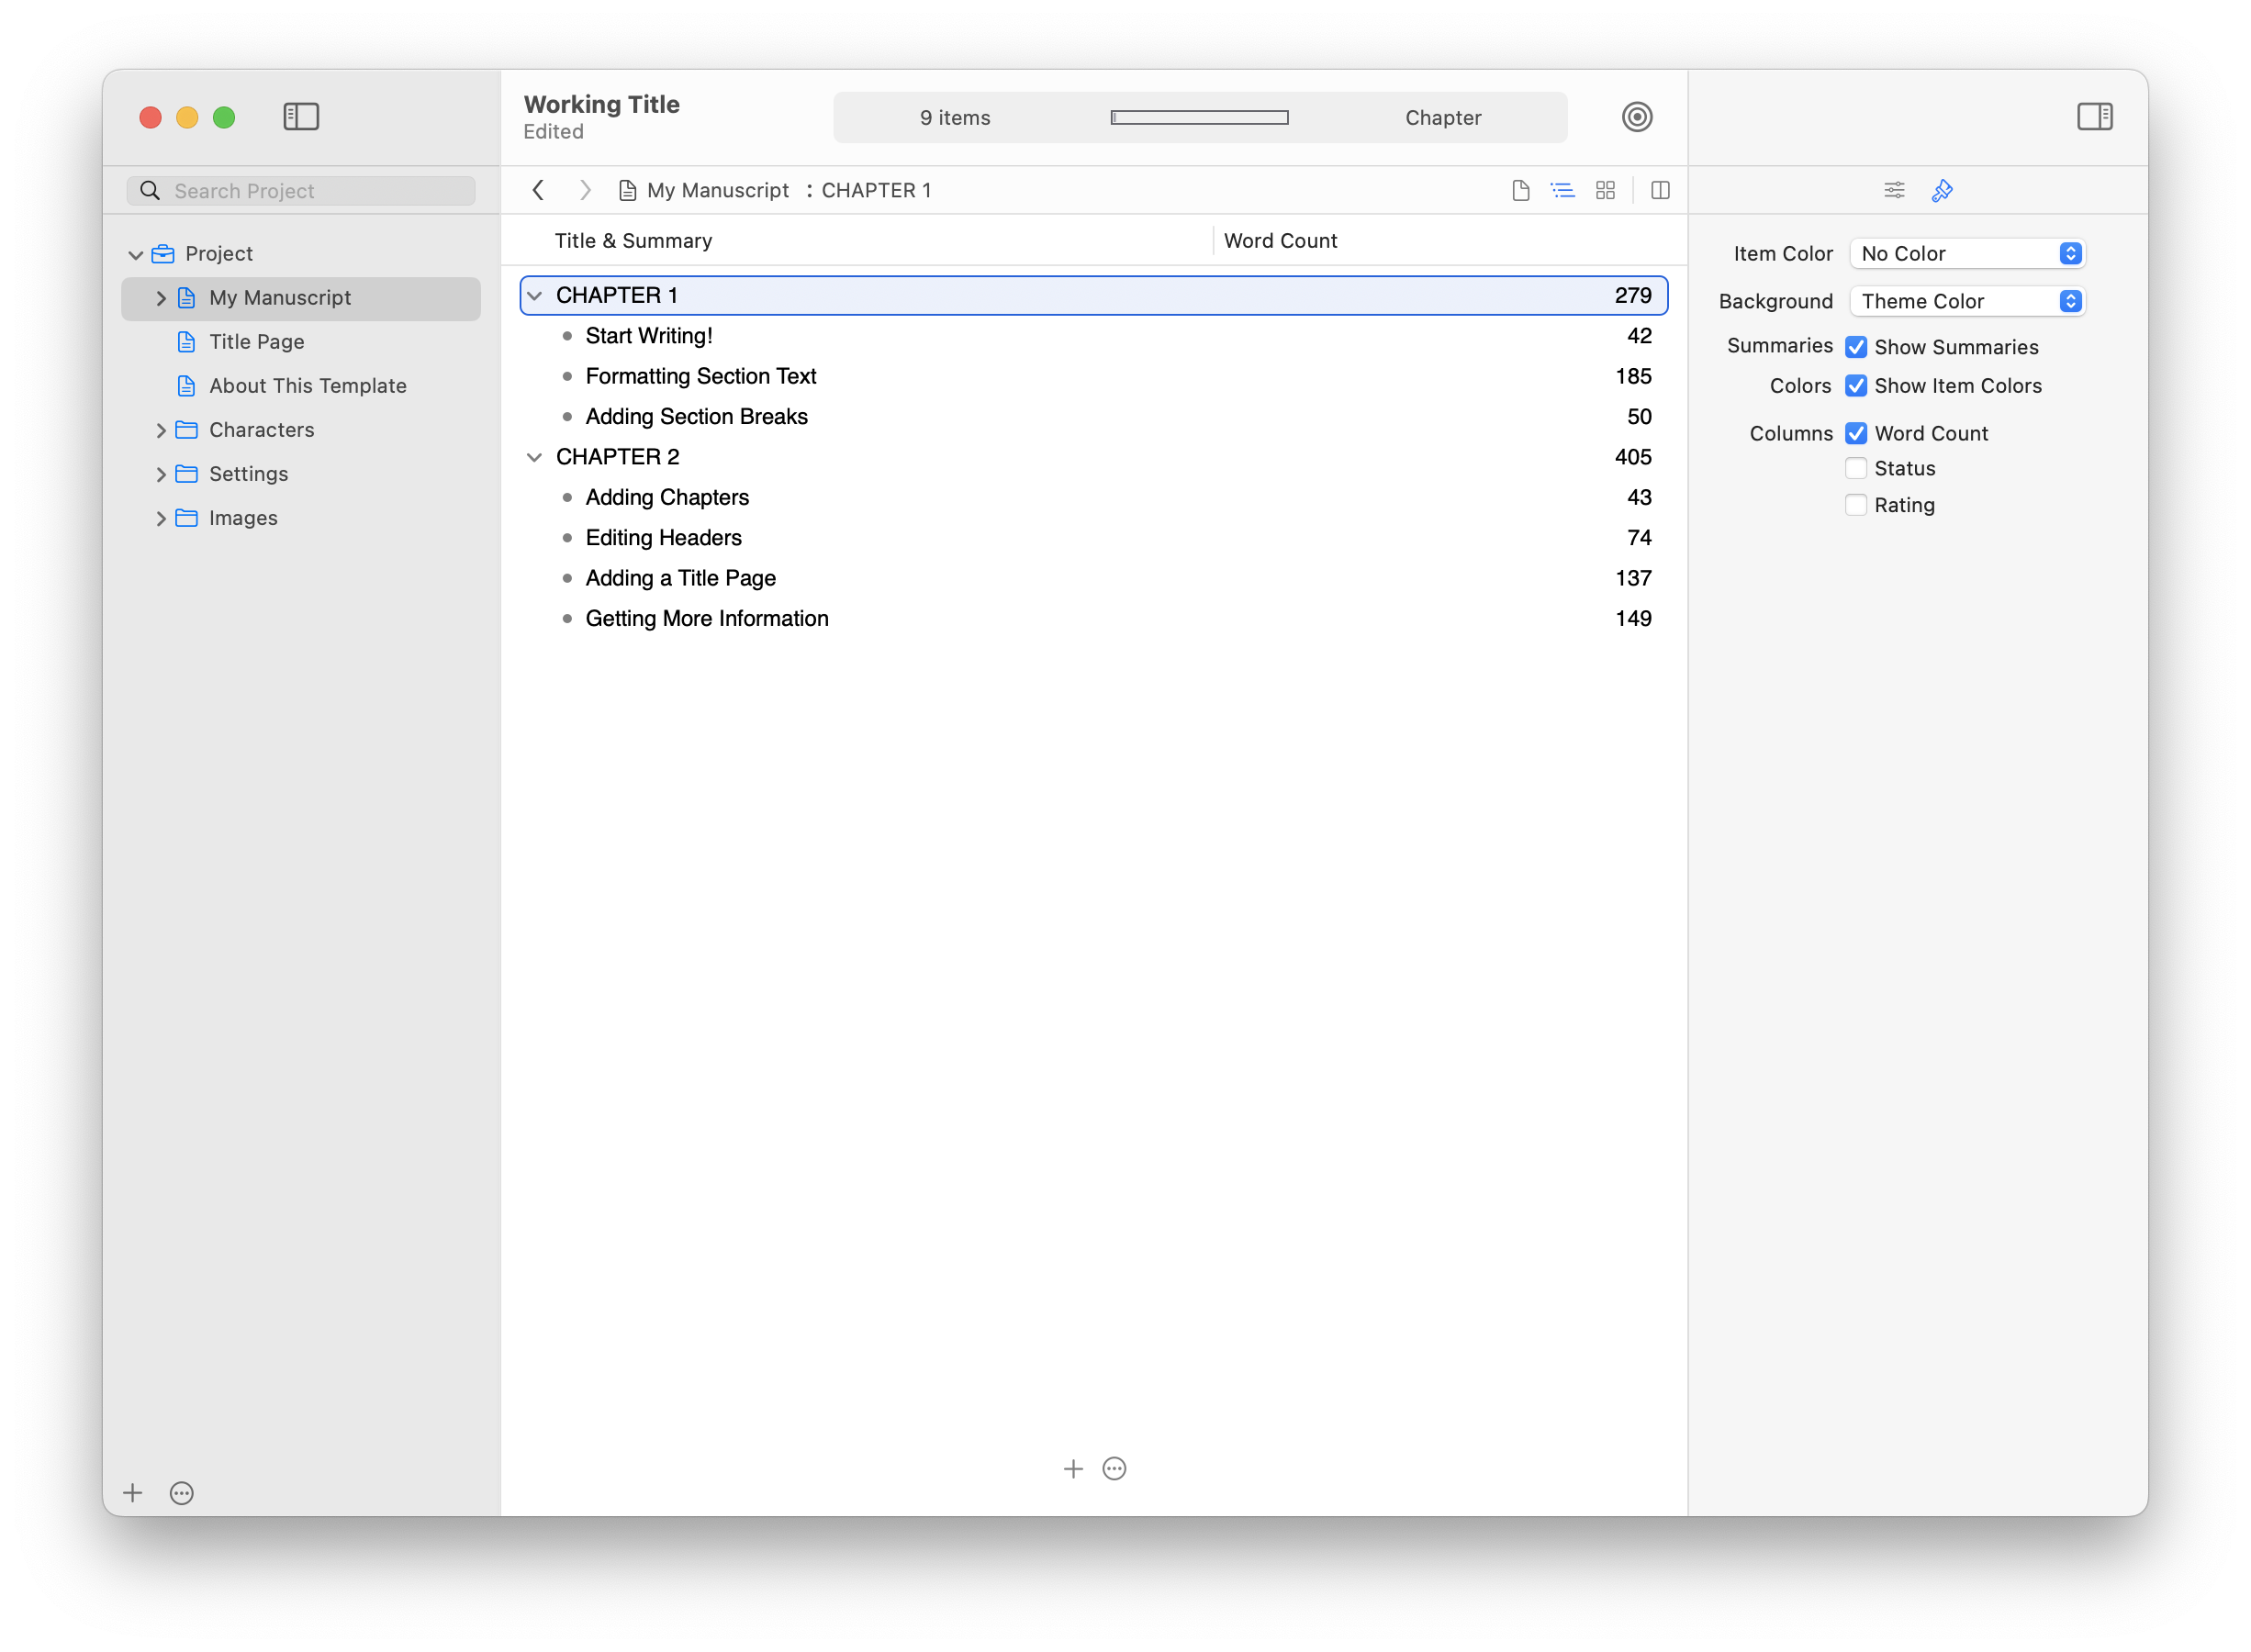
When writing, it can be helpful to track the word count for individual chapters and sections, along with the overall file and project counts. You can view these breakdowns in the outline view. To set this up:
View > as Outline command or by clicking the Outline icon in the navigation bar.View > Inspector > Format.
The Snippets window allows you to create multi-part text clips that can be inserted into your manuscript with just a few keystrokes. Predefined snippets make it easy to write dialogue without manually typing punctuation marks.
For example:
You can add your own snippets for things like character names and locations—anything you want to be able to type quickly.
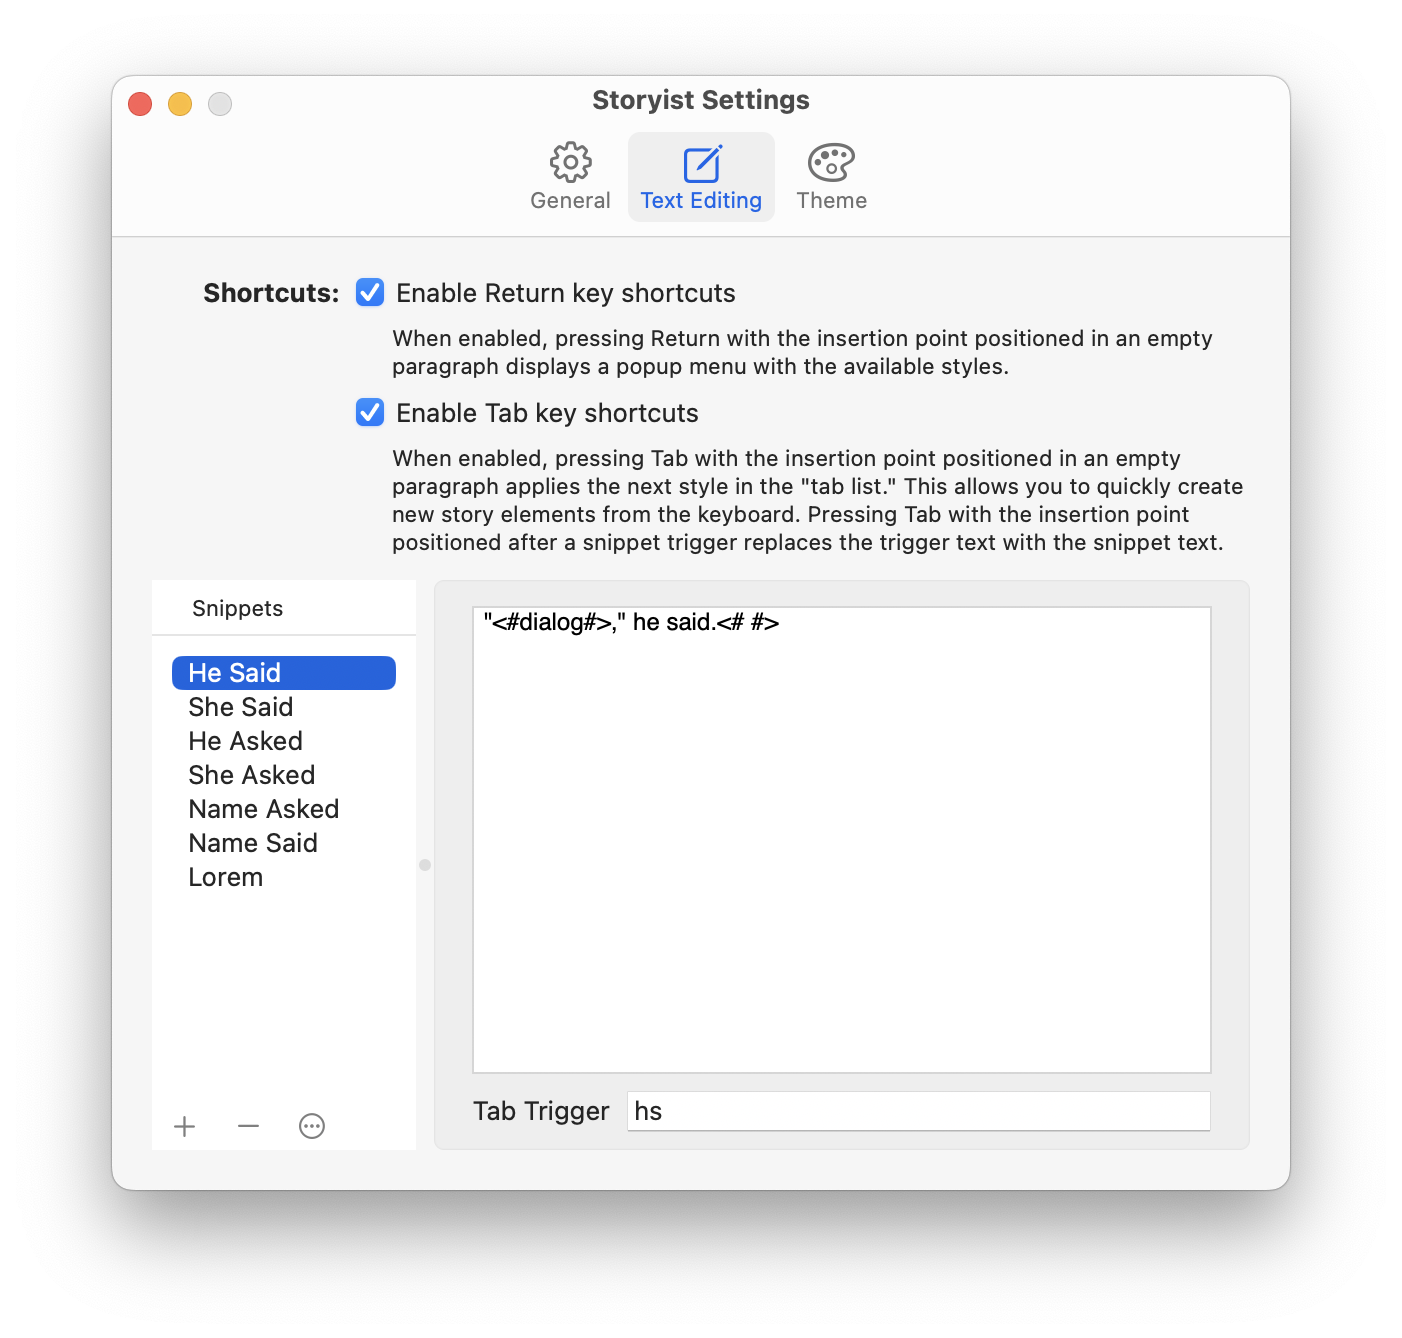
To add a new snippet:
Storyist > Settings) and select the Text Editing Pane.A good backup plan is an essential part of any writing project, but it is especially important for NaNoWrMo. Here is what you need to know about backup support in Storyist.
Storyist automatically saves your project to disk every few minutes to help minimize data loss in case of power failure or other unforeseen circumstances. If you're typing, macOS will try to wait for a pause in your activity before saving. Autosave also happens when you switch to another app, close the document, and quit the application.
Storyist also makes periodic copies of your entire project. These copies are referred to as versions. Storyist creates a new version each time you open a project and every hour while you’re working on it. You can see these backup versions of your files in the versions browser using the File > Revert To > Browse All Versions command.
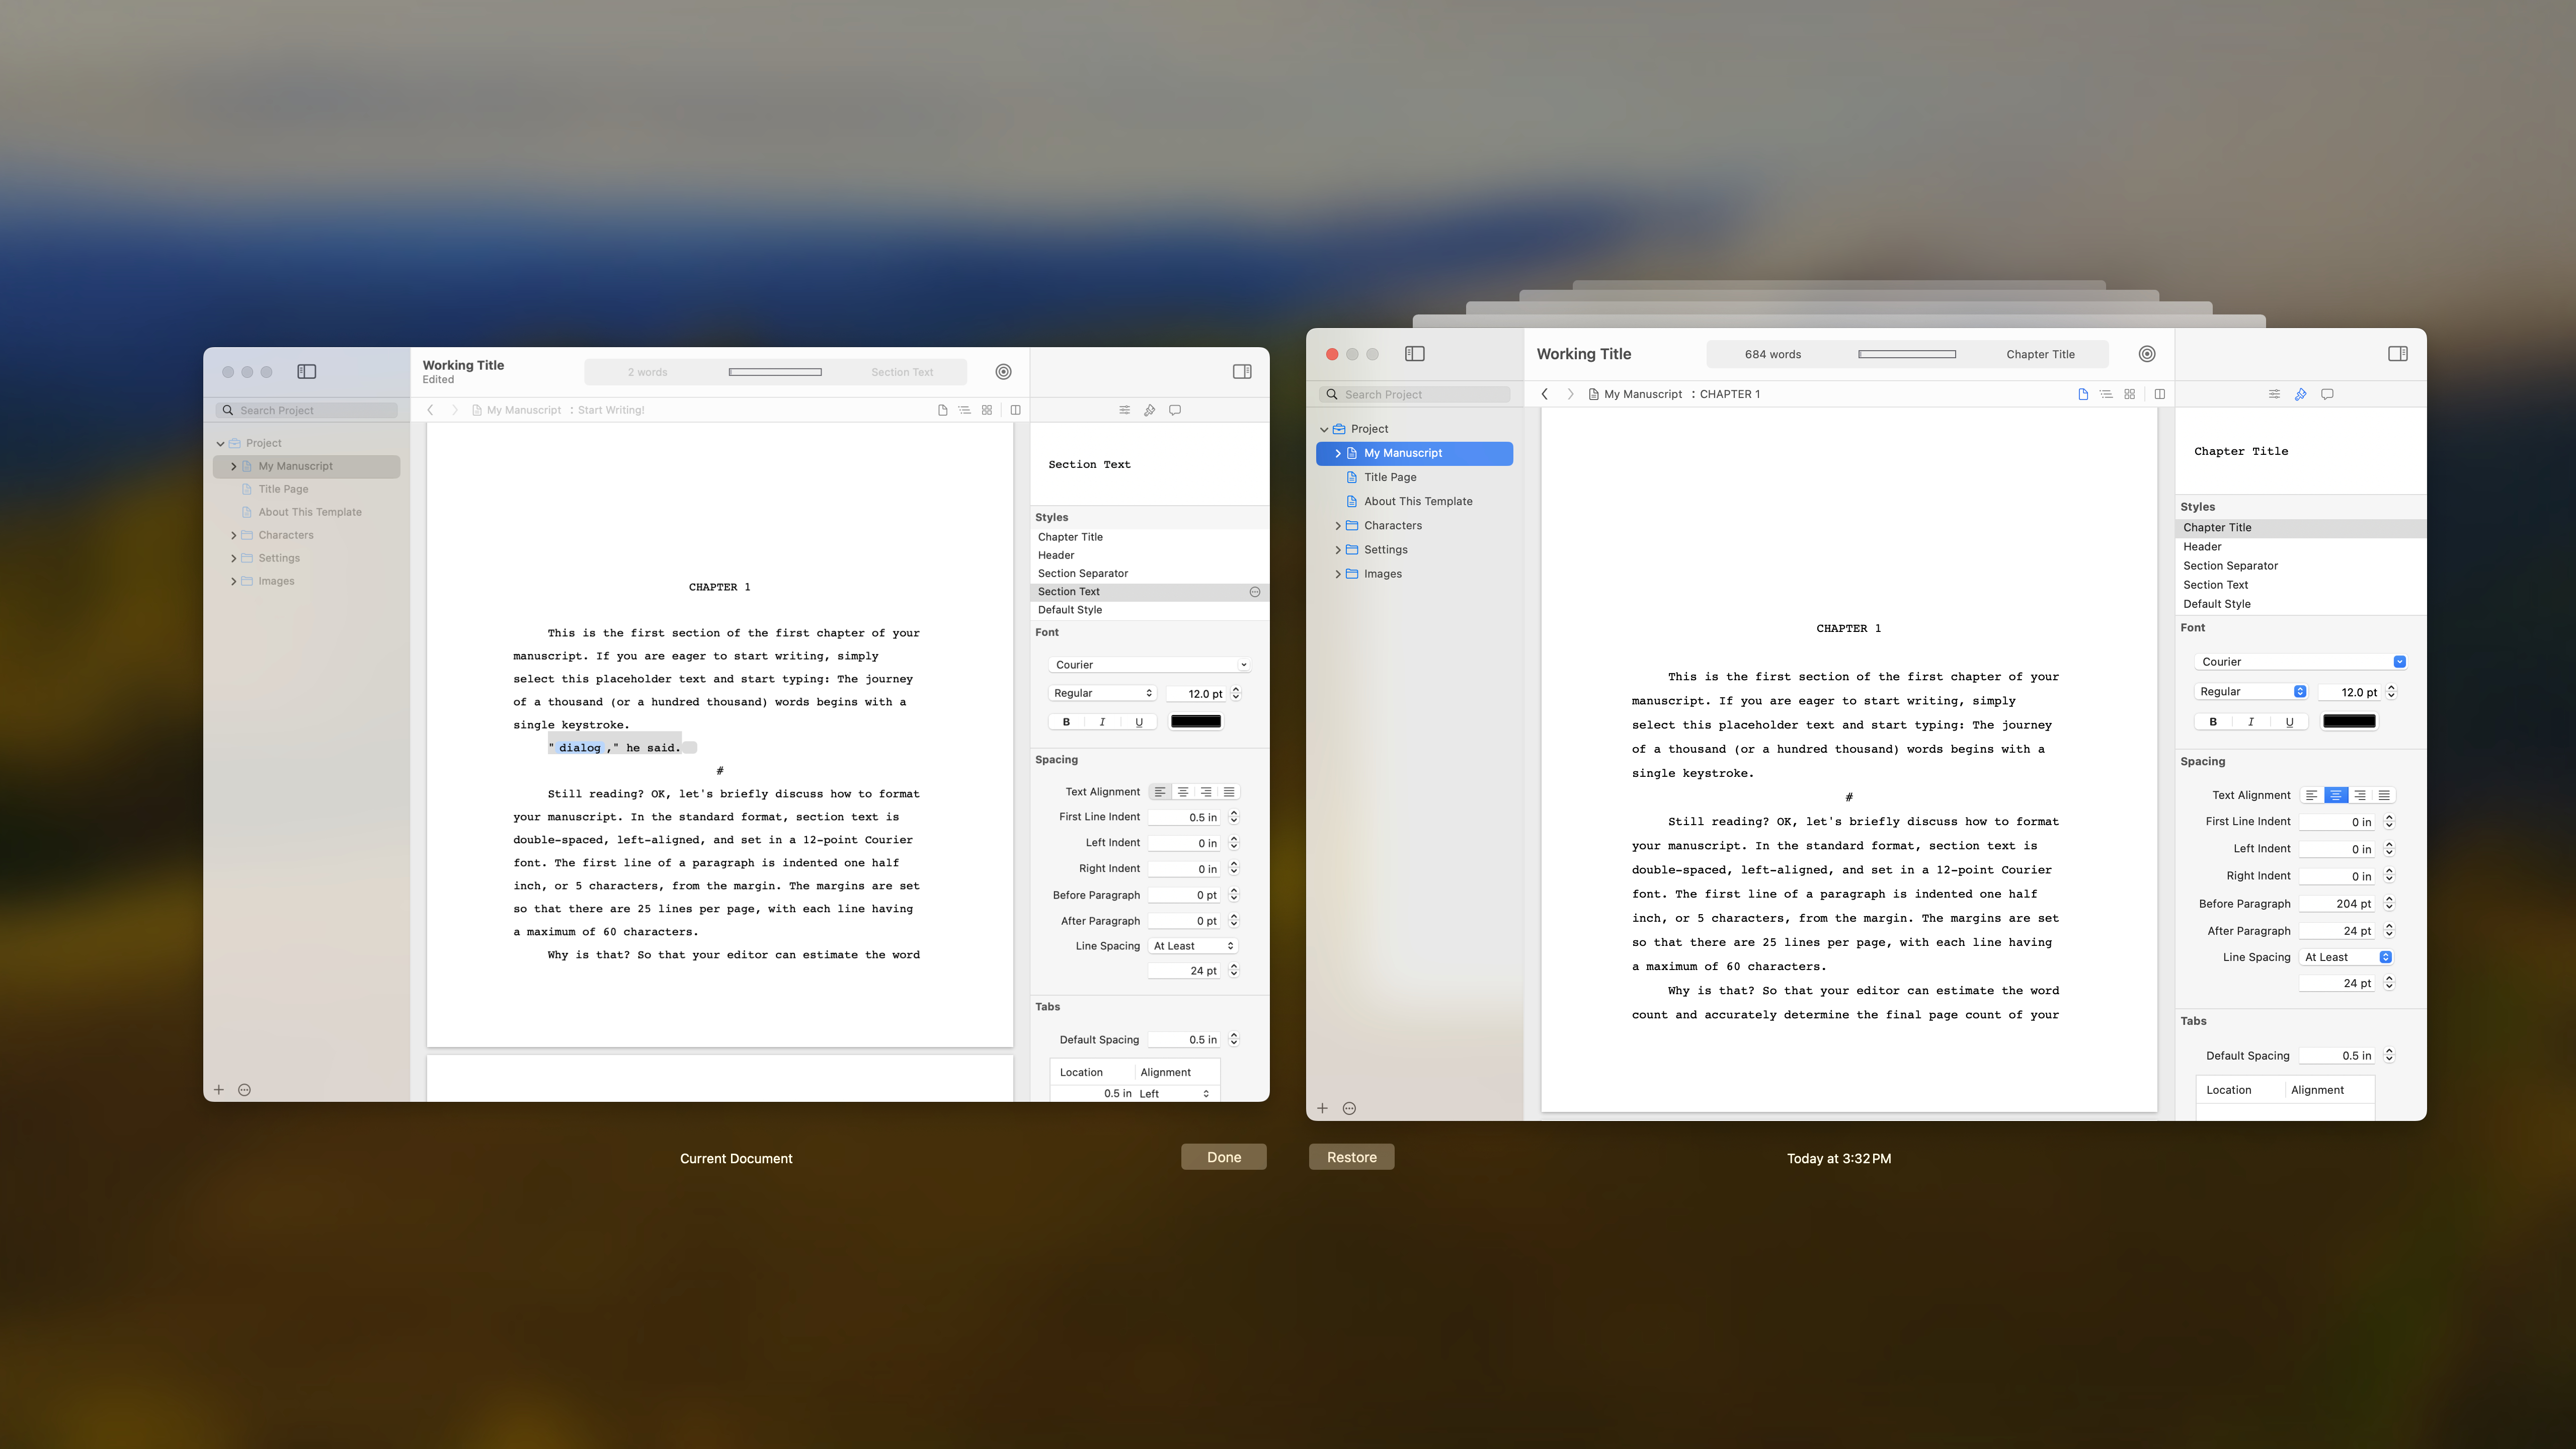
With the Versions browser, you can inspect past versions of your project alongside the current version and copy text to paste into the current version. Or, if you prefer, you can restore the project to a previous state.
So, where should you store your project?
While you can store your projects locally on your hard drive, it's a good practice to store your files in iCloud. Doing so means that your files are stored away from your computer, so if something happens at your home (theft, fire, hard drive failure), you still have copies of your work. If your Mac is already signed in to iCloud, the easiest way to store your Storyist projects in the cloud is to place them in the Storyist folder in your iCloud Drive folder and edit them from there. Your Mac will take care of the rest.
Finally, it's also good practice to save a copy outside of iCloud in the unlikely event you lose access to your account. The easiest way to do this is to email a copy of your project.
That's about it. If you have questions, please feel free to drop into the Storyist forums or send a quick email to the support address.
50k or bust!